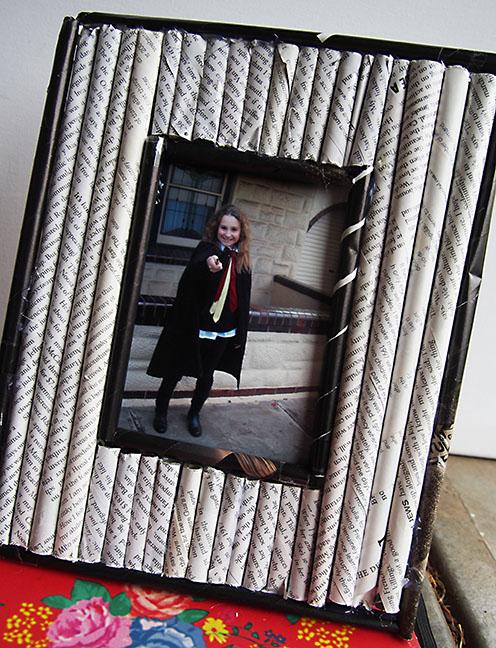
I used to have so many photos and out of date magazines that I didn’t know what to do with. Since I’ve been watching DazzleDIY my magazine collection has shrunk dramatically but my photo pile has only gotten bigger. I decided to put two and two together and make a photo frame decorated with magazine rolls. My inspiration came from DazzleDIY’s magazine tutorial but I have also seen photos floating around the internet so I thought I’d give it a crack. Through her I come to love magazines for their colours and patterns rather than the content so I have started collecting them (not that it’s getting very far). I think this frame looks very effective when the right colours are used. Check DazzleDIY out – she is amazing! (https://www.youtube.com/user/DazzleDIY).
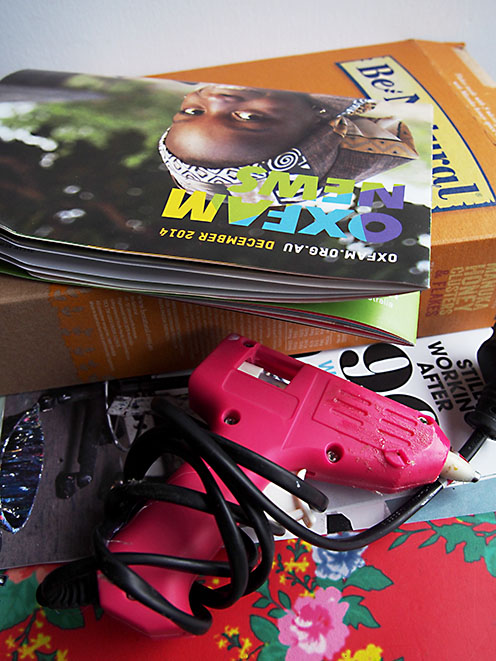
Materials
- Cardboard or Old Frame (a cereal box will do but the thicker it is the sturdier it will be)
- Hot Glue Gun
- Colourful Magazine Pages
- Pencil or Paint brush
- Sticky Tape
- Scissors
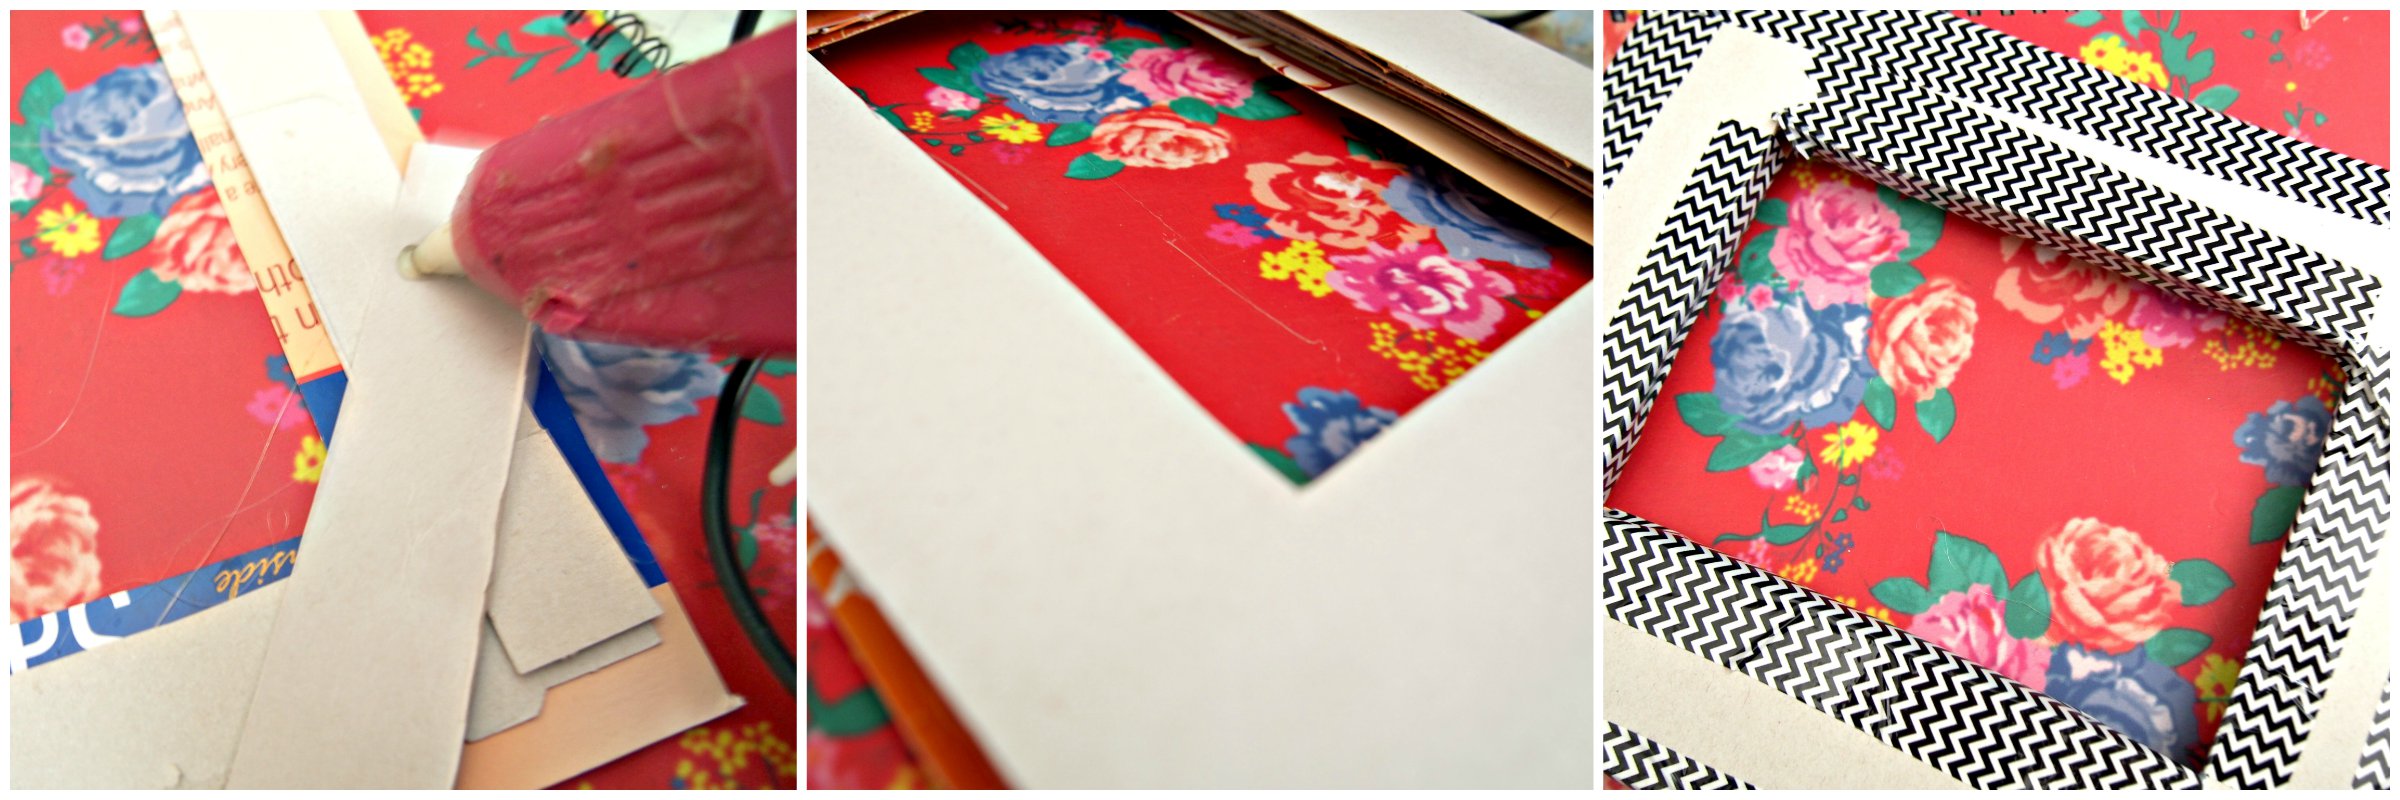
To make the frame cut two pieces of cardboard to the size you would like. You can do this by tracing a frame you already have or tracing photo and making your own frame. I roughly traced a frame I already had and then a photo to get the right size. Something to remember is when making the inner frame make it a bit smaller than the photo so it doesn’t fall out.
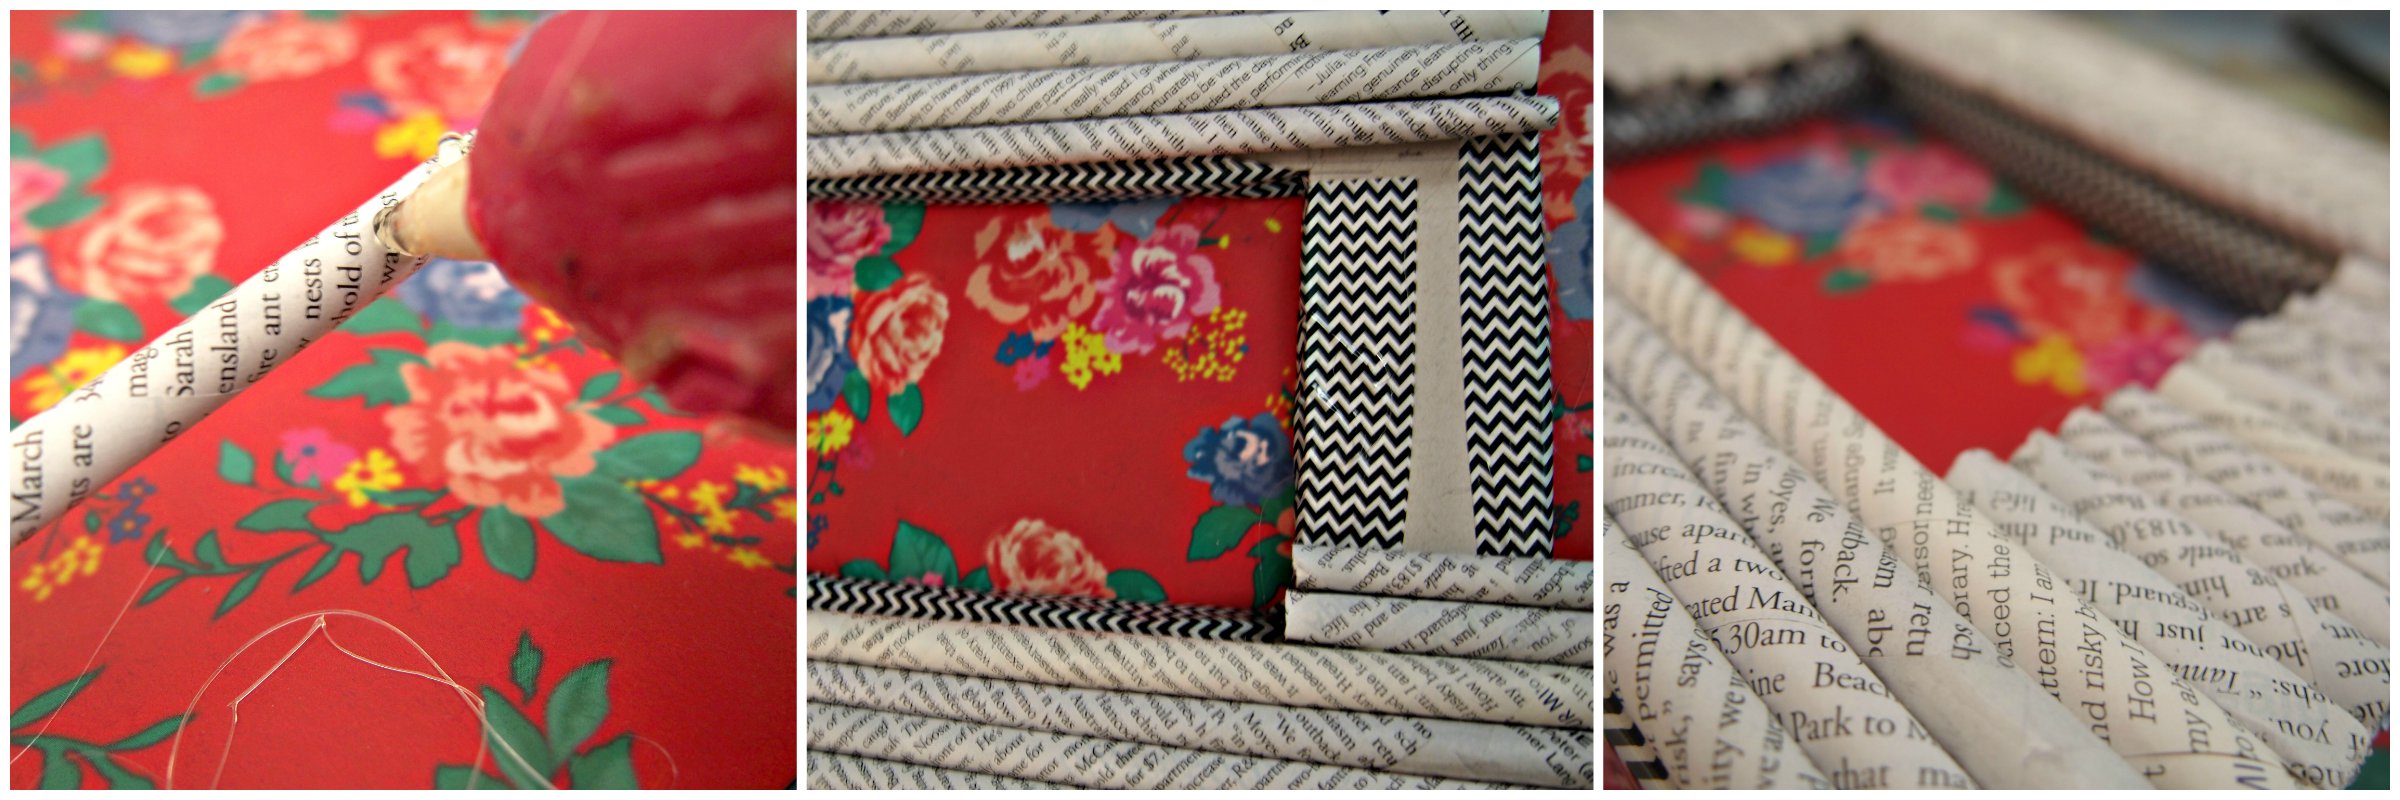
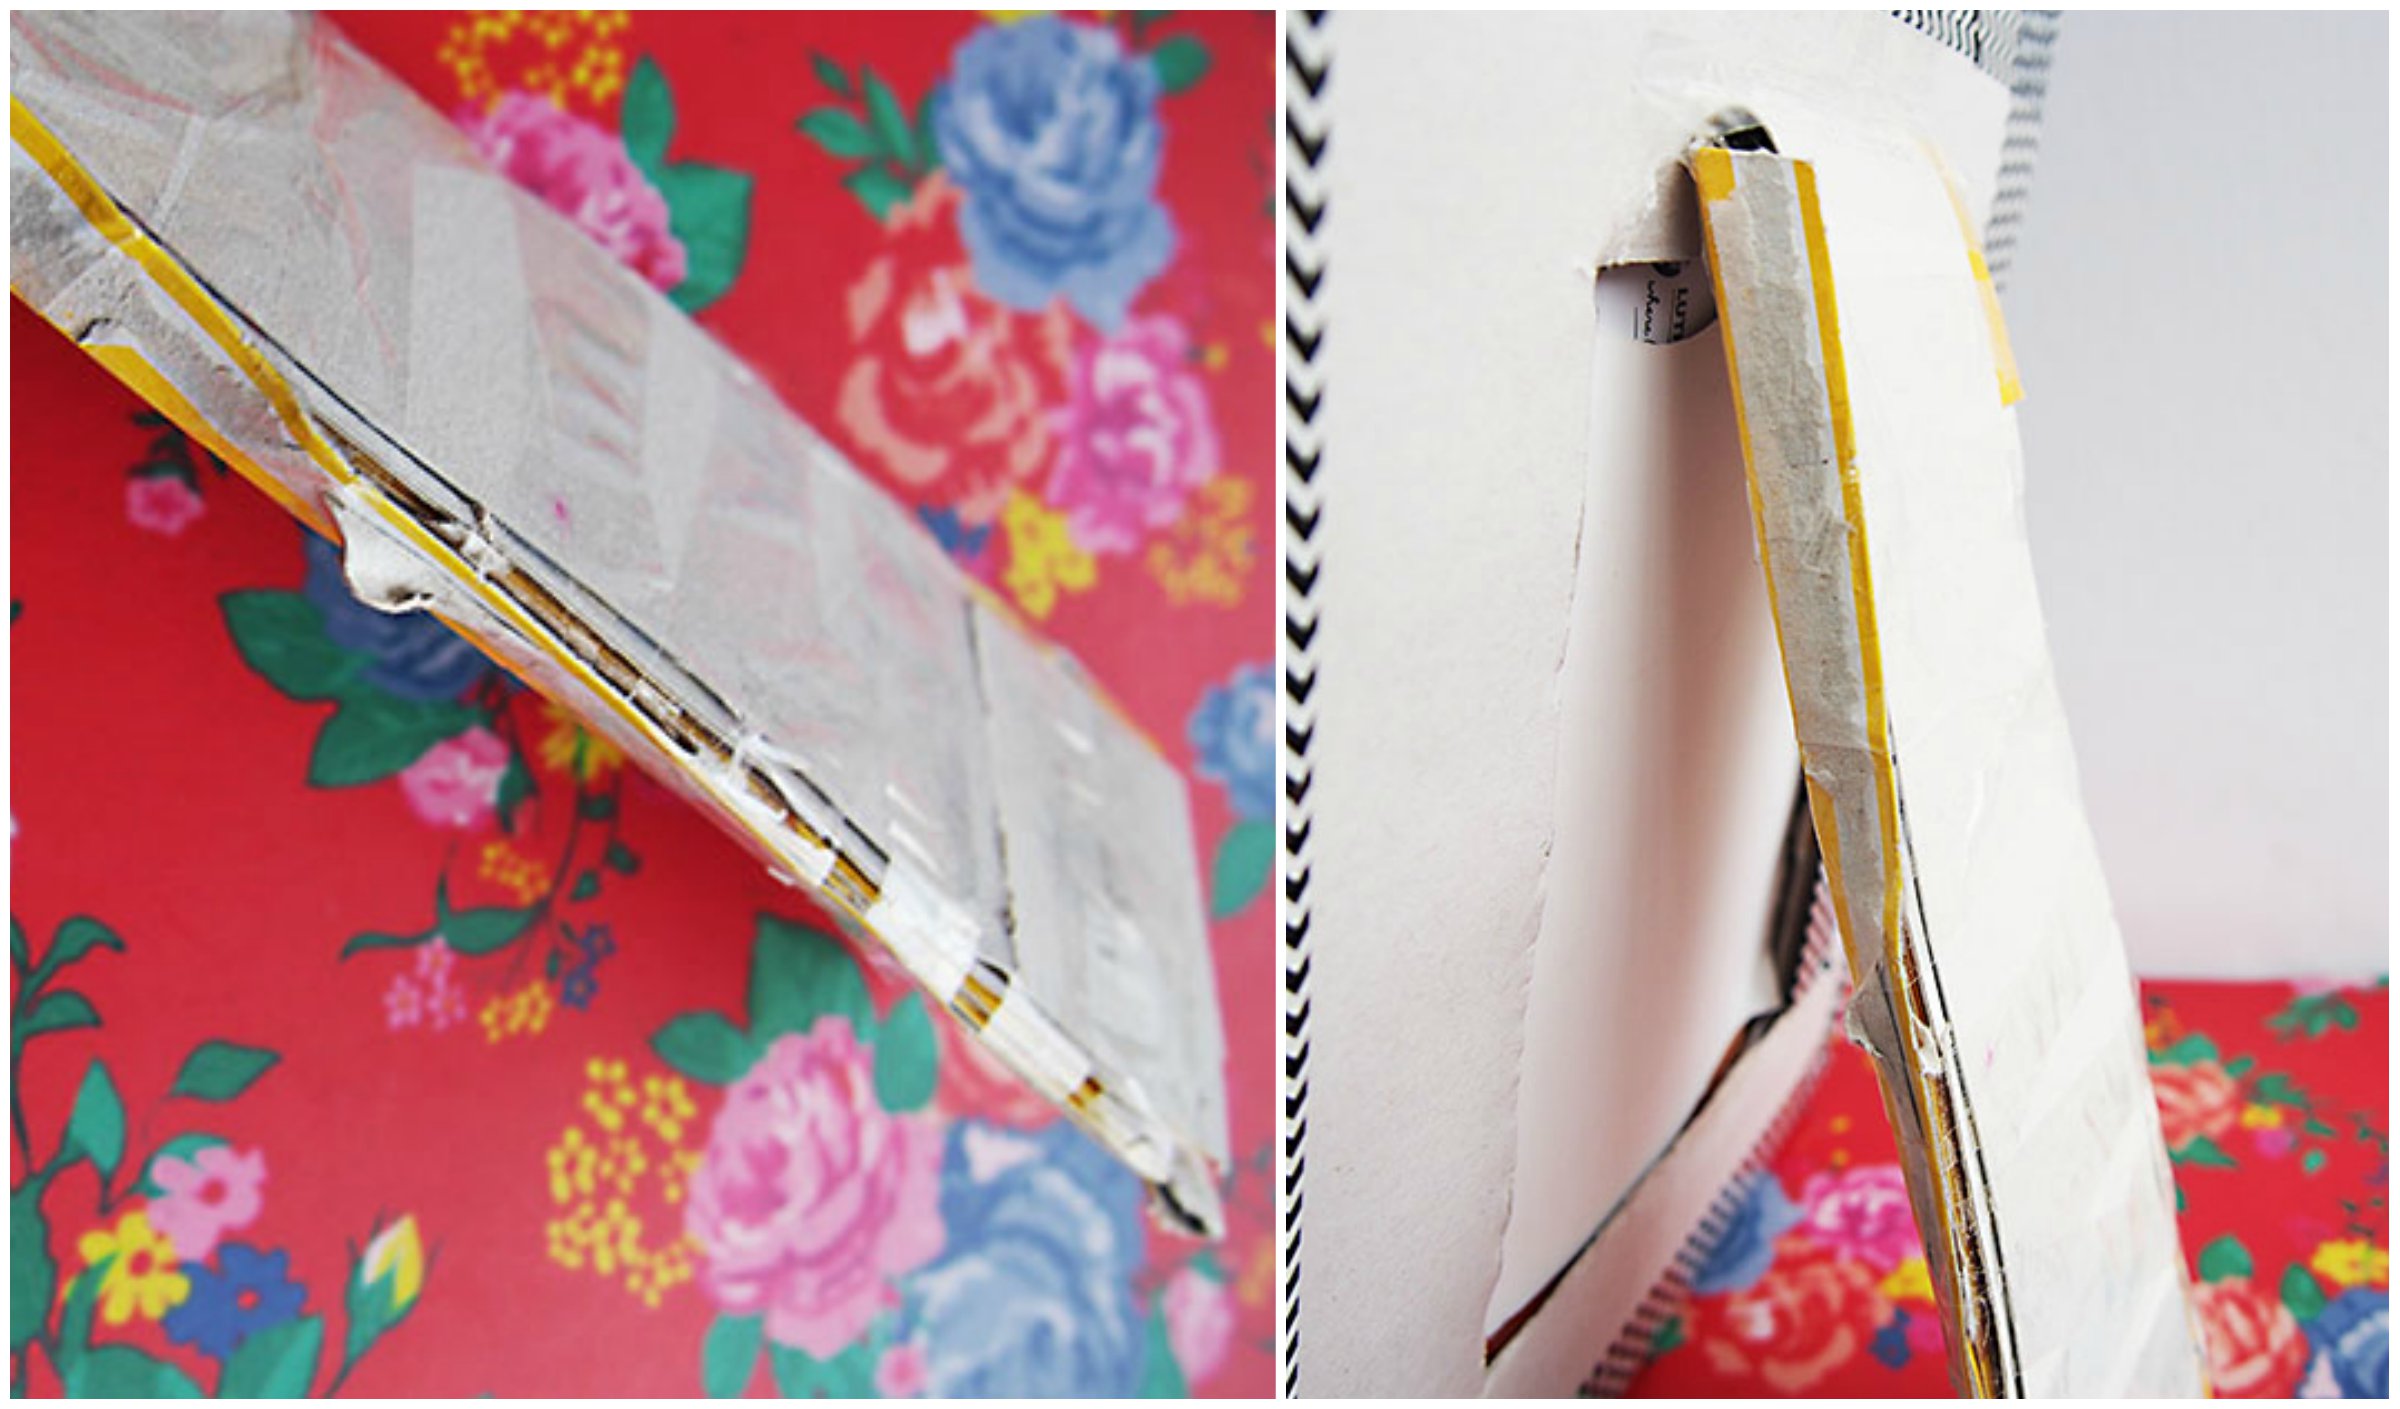
I then used a hot glue gun to bind the cardboard together. Between the two frames I put scraps of cardboard to make it stronger and so it doesn’t bend in half. Depending how many scraps you have it could give it a 3D effect. Before you glue the frame together make sure that the scrap doesn’t go to close the inside edge as the photo will need to be able to fit in. In the photo I have taped the edges. I then cut the inside tape away later on. I found taping the outside means you can’t see the scraps inside and it looks more finished.
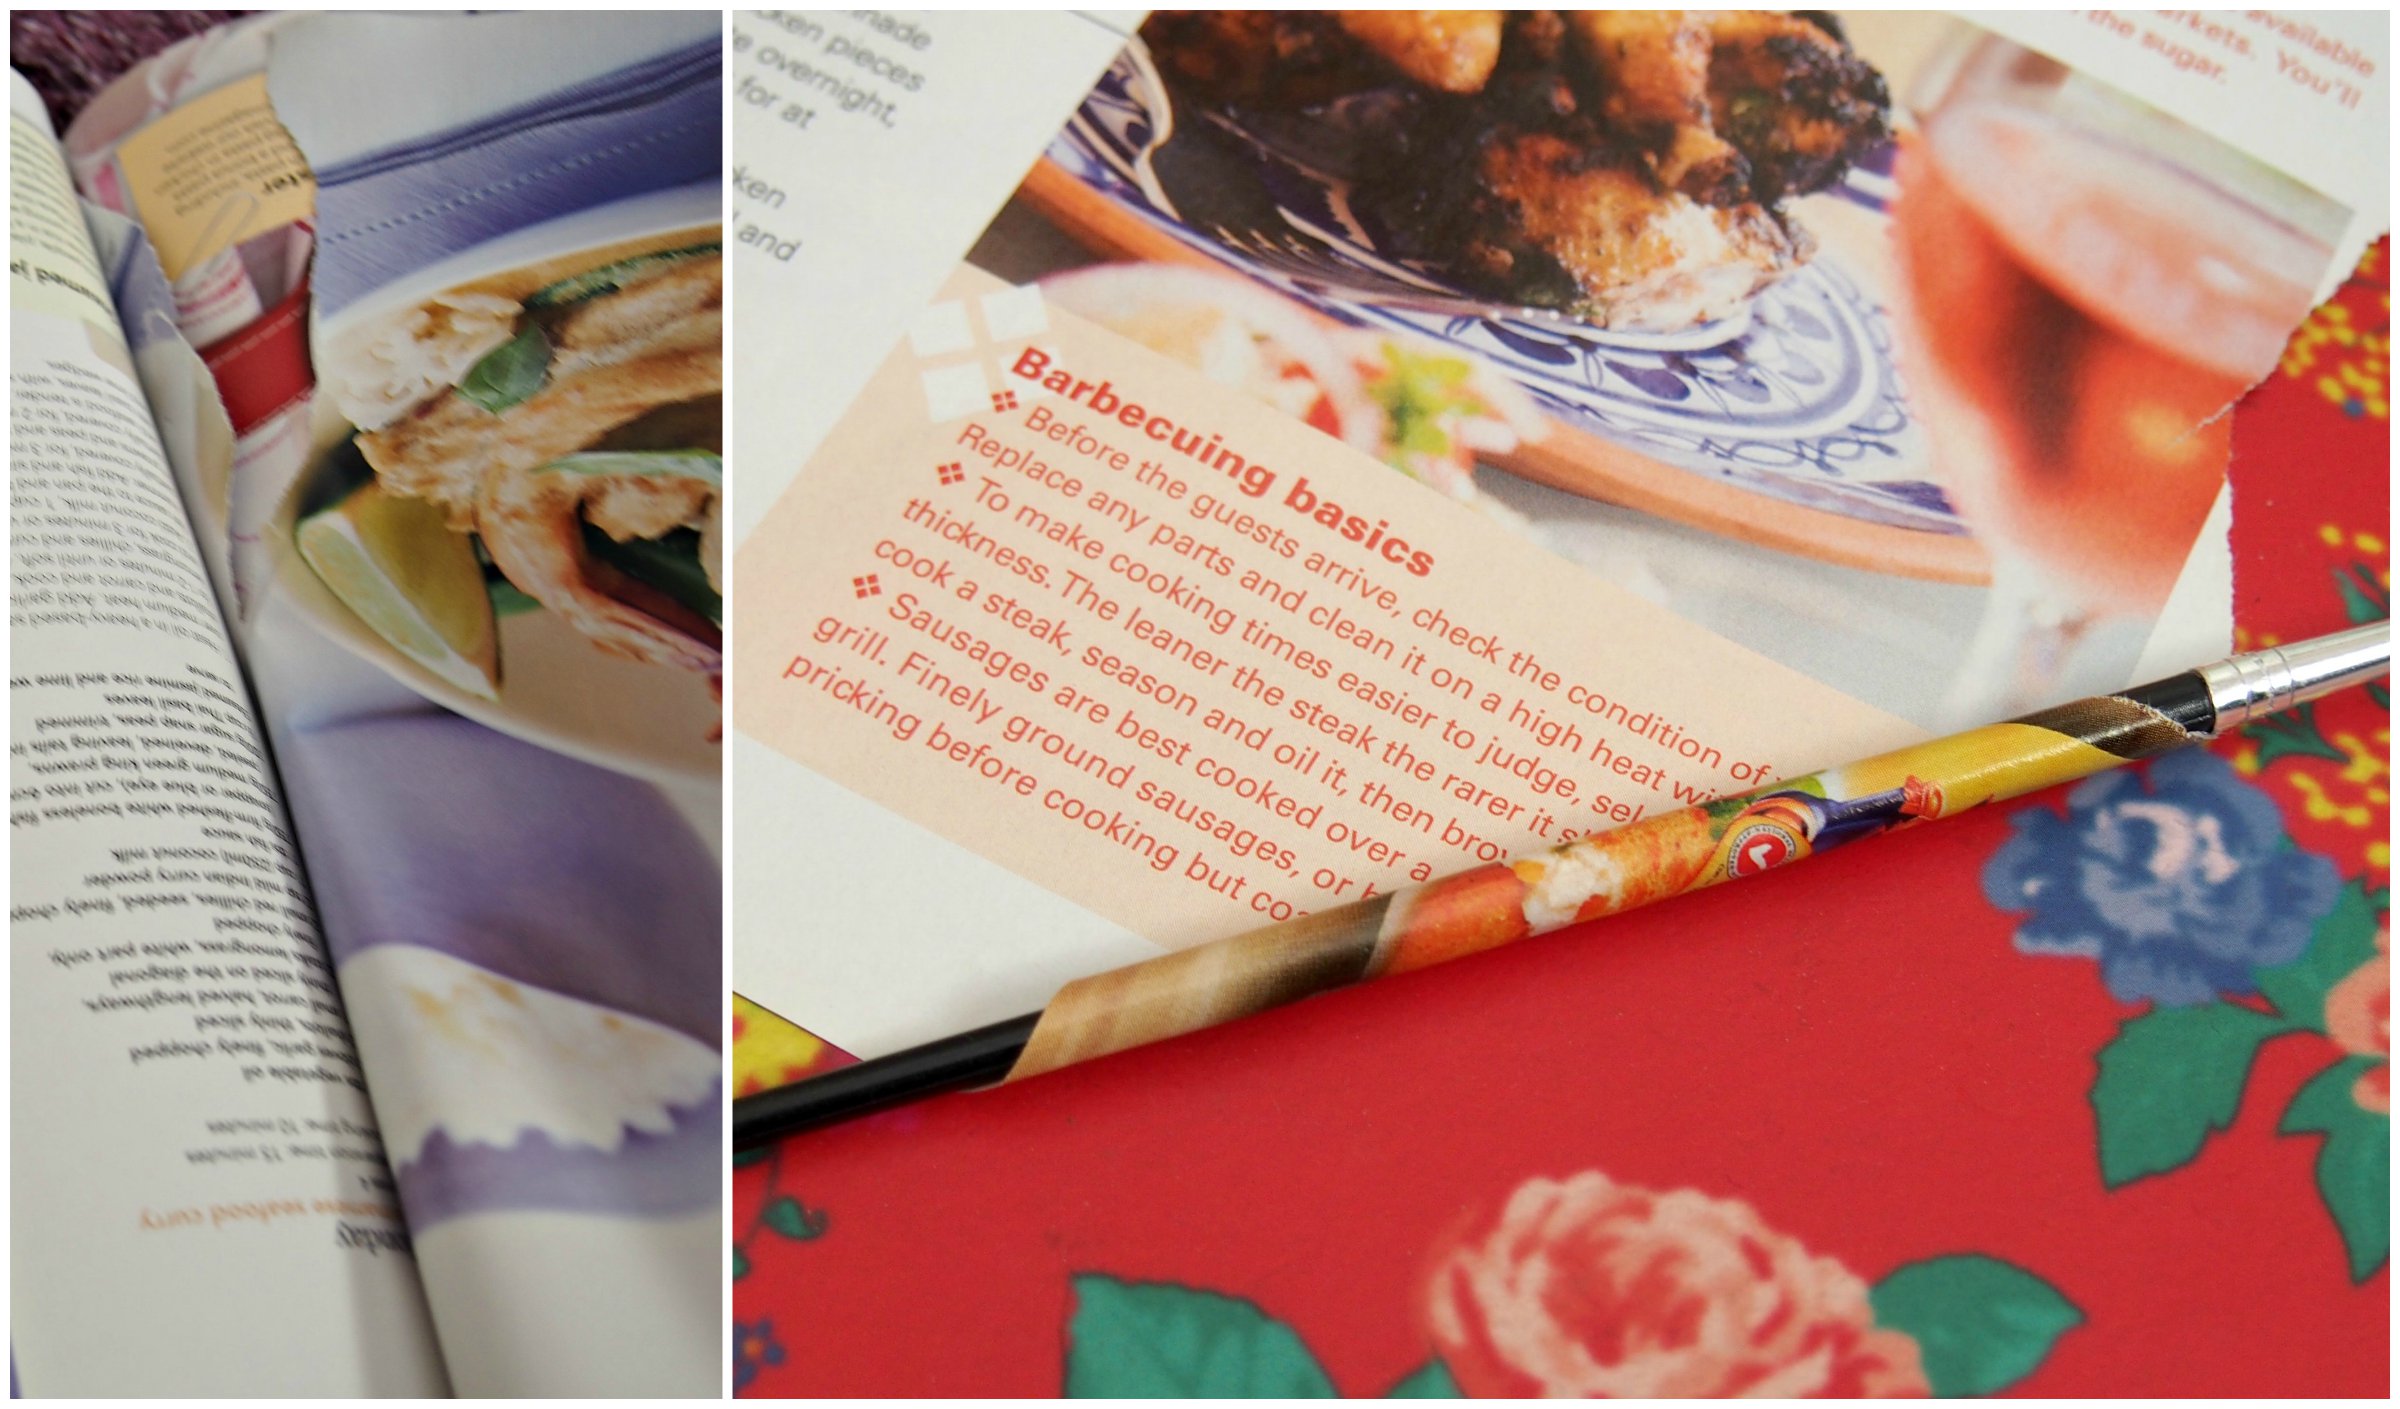
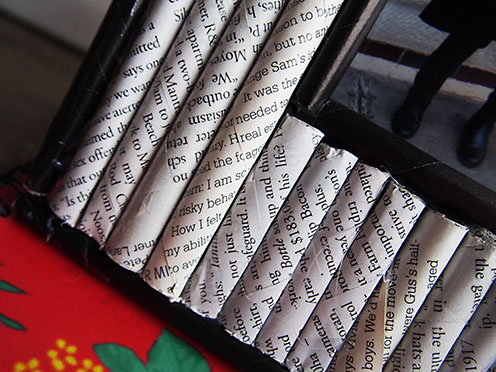
To decorate the frame I used lots of magazine rolls. Rip colourful pages out of magazines that are colourful. You could just use random colours or you could have a colour scheme. I tried doing a black and white with the text from the magazine. Turn the pages wrong side up and use a pencil or thin paint brush to help start the roll. Before you get to the end make sure you take out the pencil so it doesn’t get stuck in the roll. Secure it with a piece of tape and continue to make these until you have enough. I ended up using about 18 rolls.
Using a hot glue gun, glue the rolls onto the frame making sure they are lined up at the bottom. My first weren’t so it looked messy and not very good. Continue gluing them on until the frame is completely covered. I then used some plain black rolls for a border around the frame to make it stand out and look finished but it is optional.
To make the stand I also used scrap card taped together but a stronger card could be sed here to make it sturdier. You can either use glue or tape to adhere it to the frame. I used tape so I could move it to get the picture in and out.
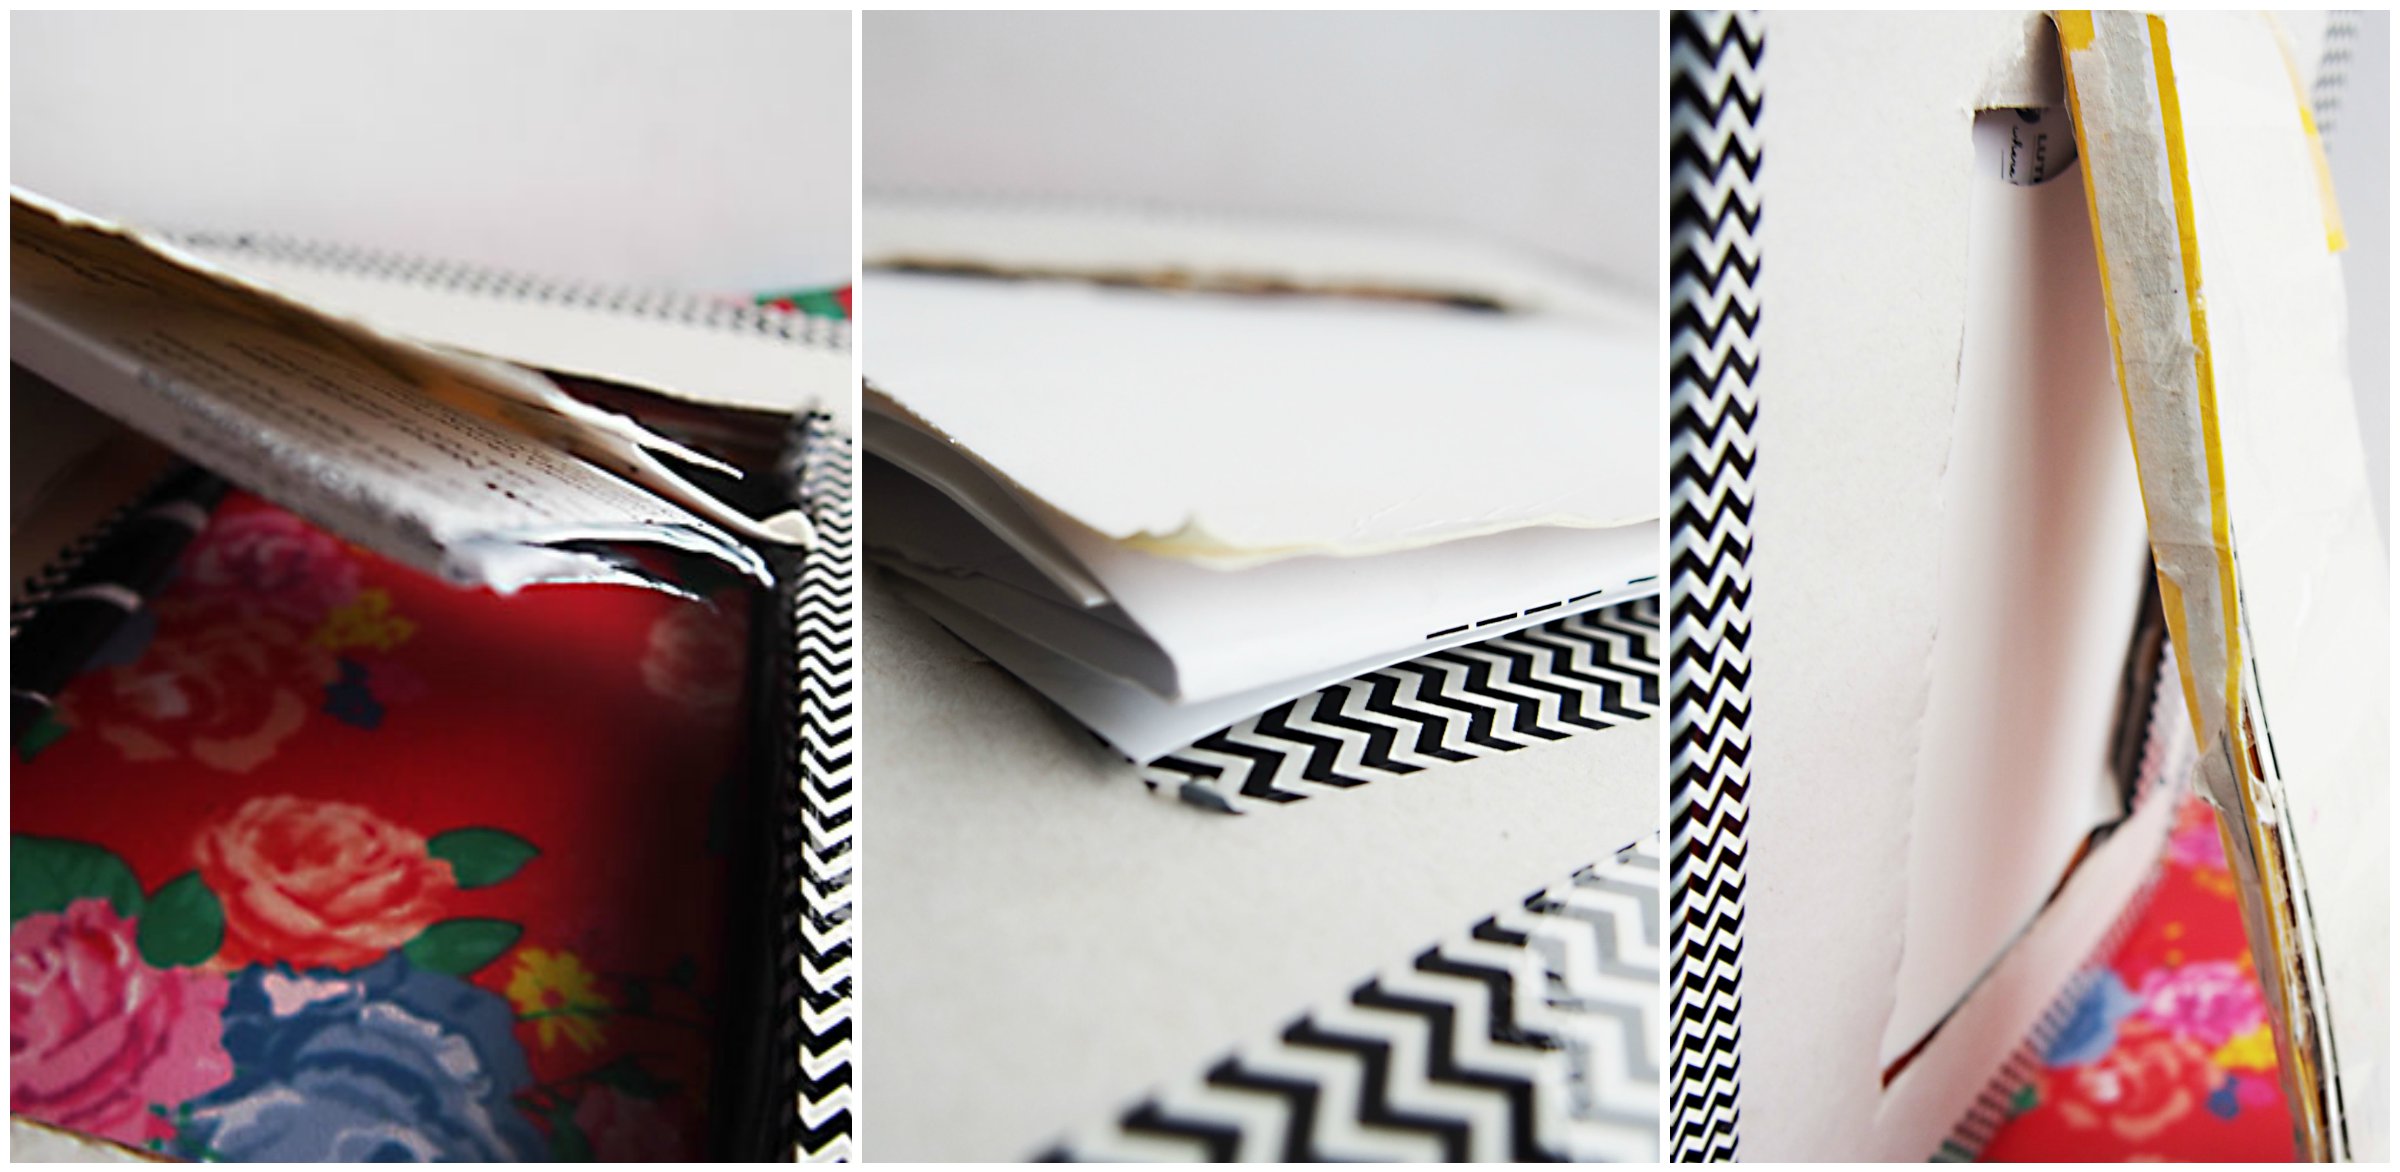
I found trying and putting the picture inside the frame was the hardest bit. I pushed the photo in between the two frames where the scrap card is but the photo wasn’t thick enough. I then cut some paper to size and pushed it behind the photo. I’m sure there are other ways to keep the photo in like taping it to the back.

I like this. I like this alot. xx