DIY: Magazine Photo Frame

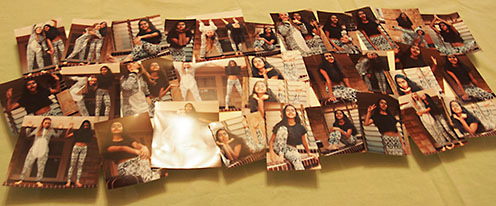
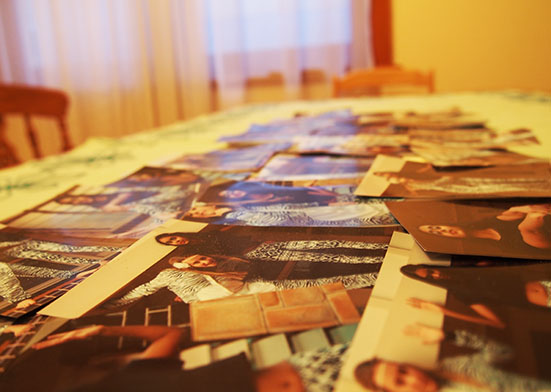
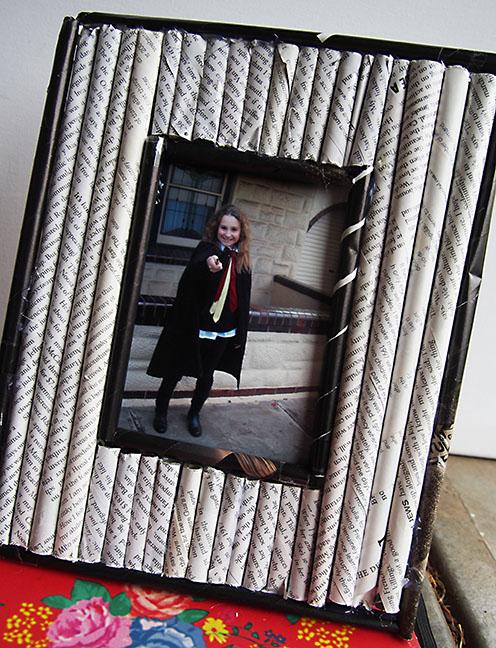
I used to have so many photos and out of date magazines that I didn’t know what to do with. Since I’ve been watching DazzleDIY my magazine collection has shrunk dramatically but my photo pile has only gotten bigger. I decided to put two and two together and make a photo frame decorated with magazine rolls. My inspiration came from DazzleDIY’s magazine tutorial but I have also seen photos floating around the internet so I thought I’d give it a crack. Through her I come to love magazines for their colours and patterns rather than the content so I have started collecting them (not that it’s getting very far). I think this frame looks very effective when the right colours are used. Check DazzleDIY out – she is amazing! (https://www.youtube.com/user/DazzleDIY).
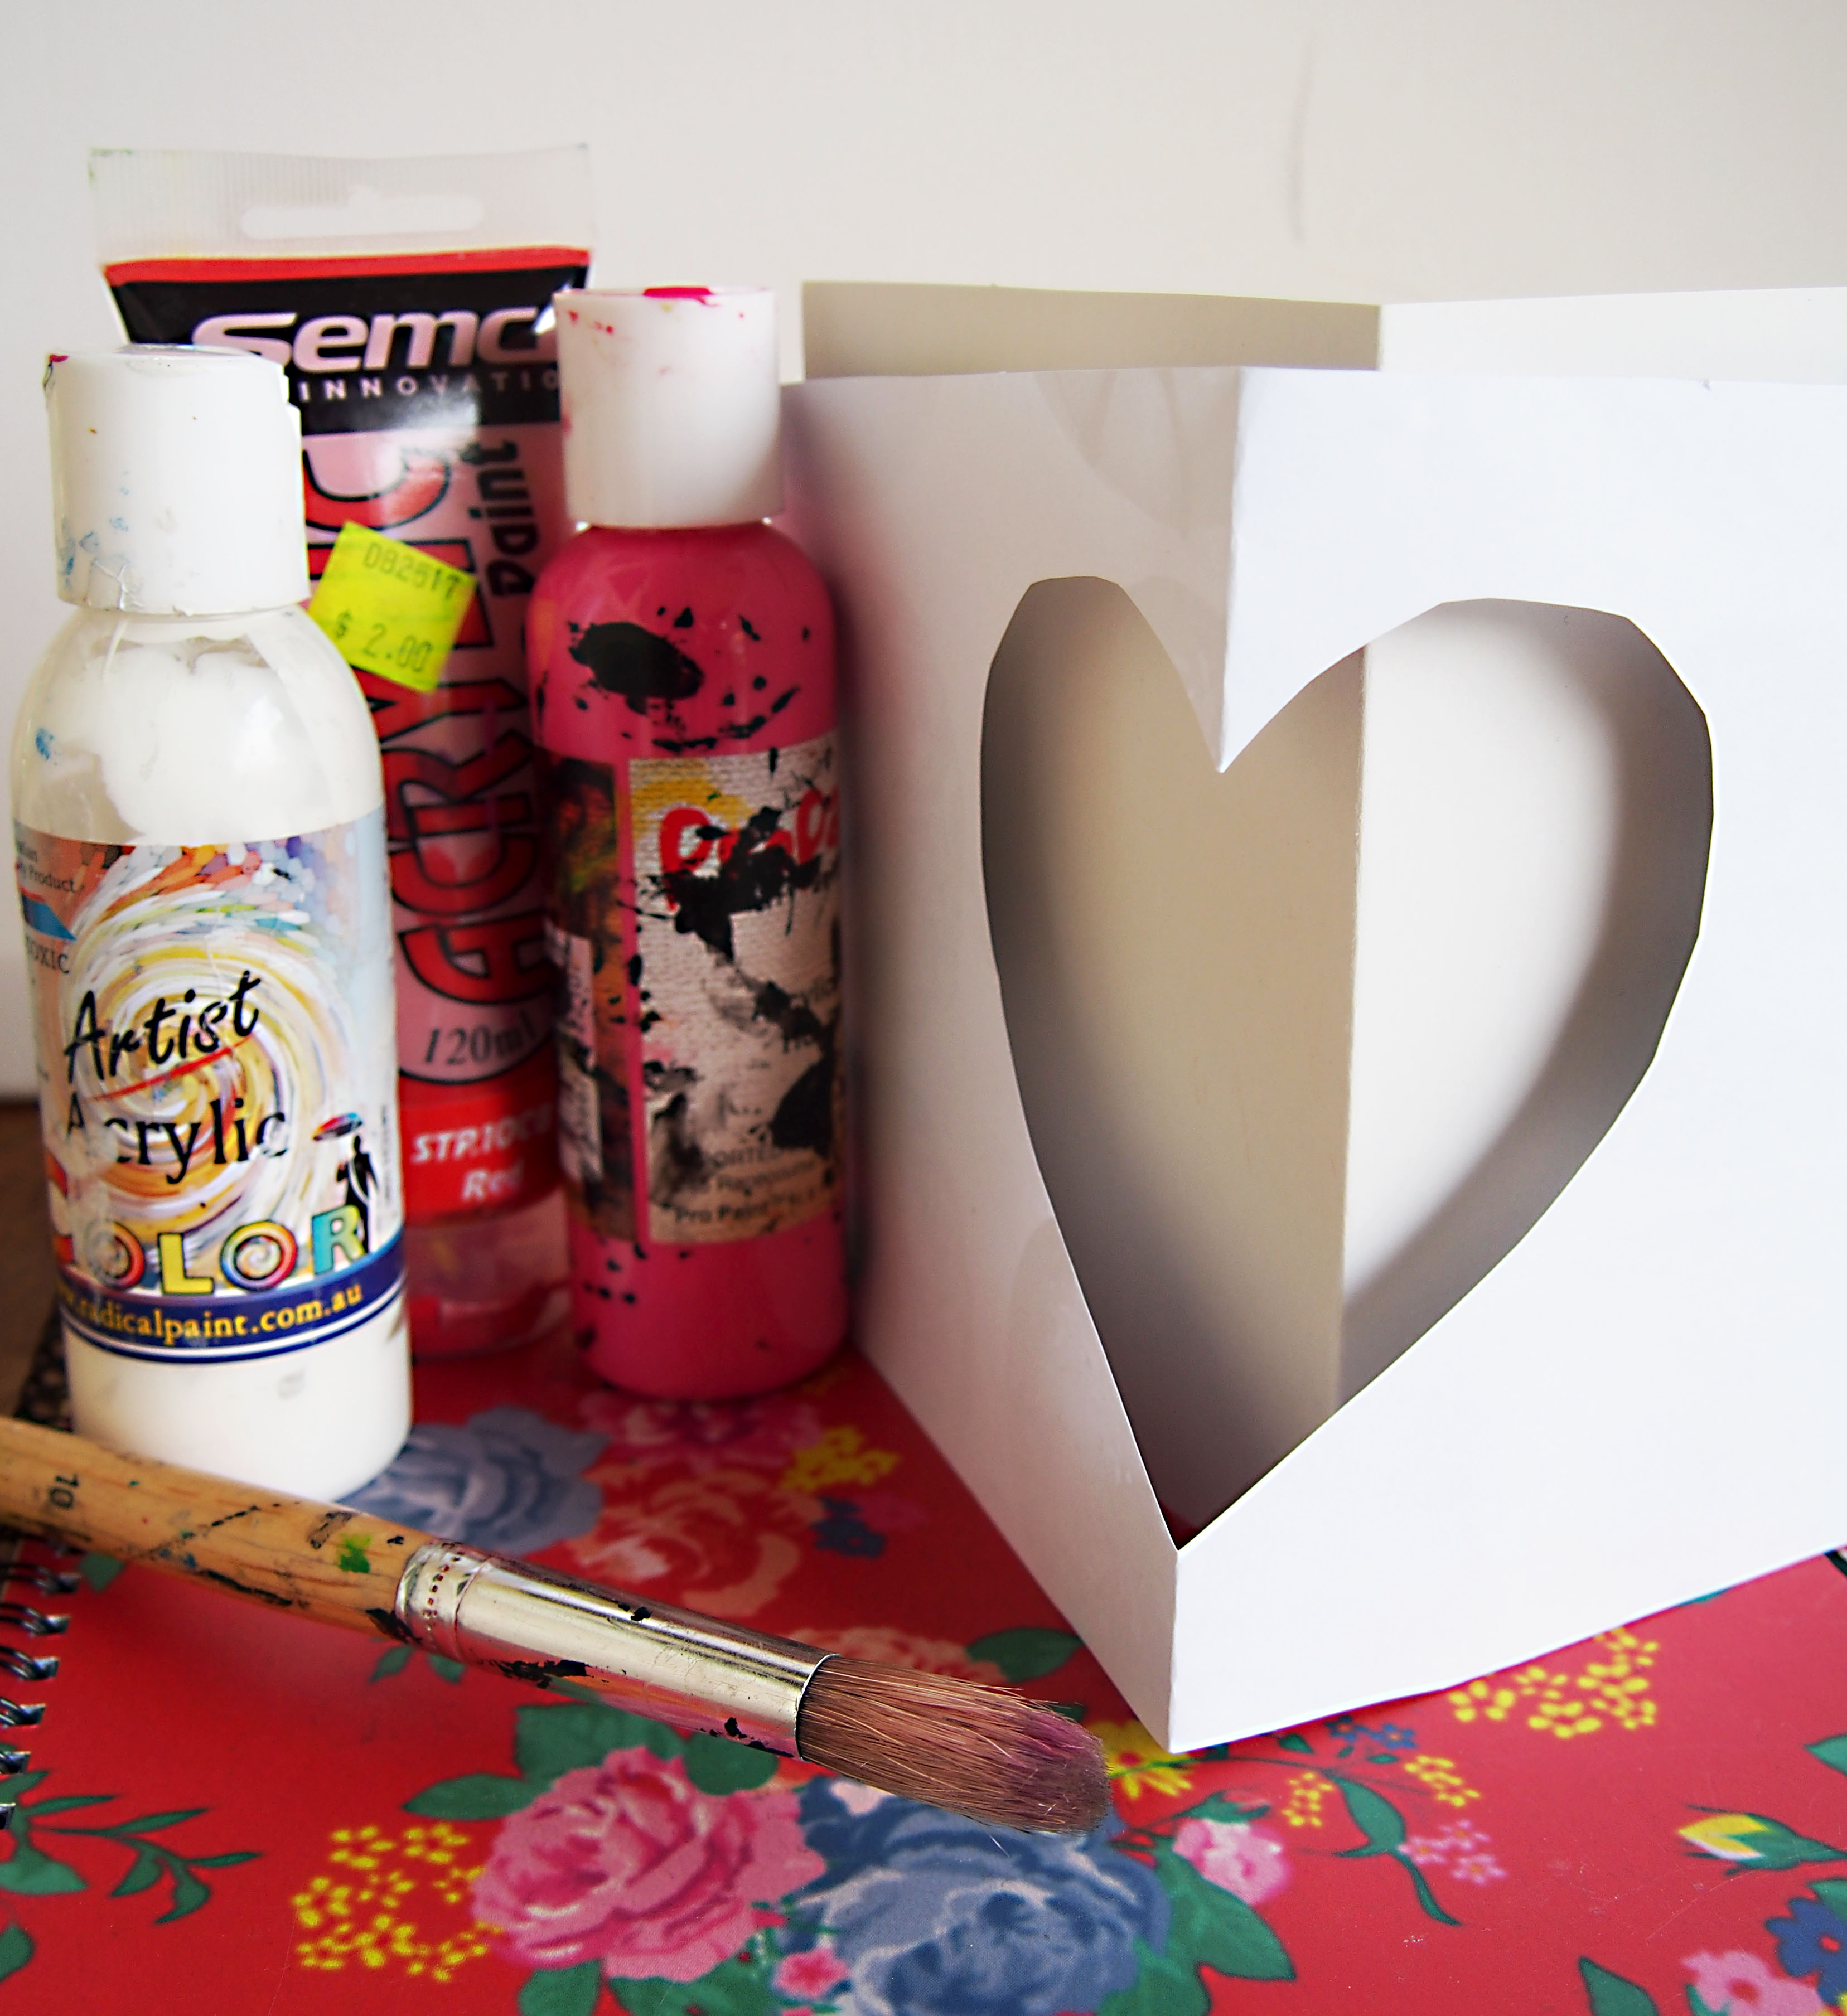
OLYMPUS DIGITAL CAMERA

Materials

  • Cardboard or Old Frame (a cereal box will do but the thicker it is the sturdier it will be)
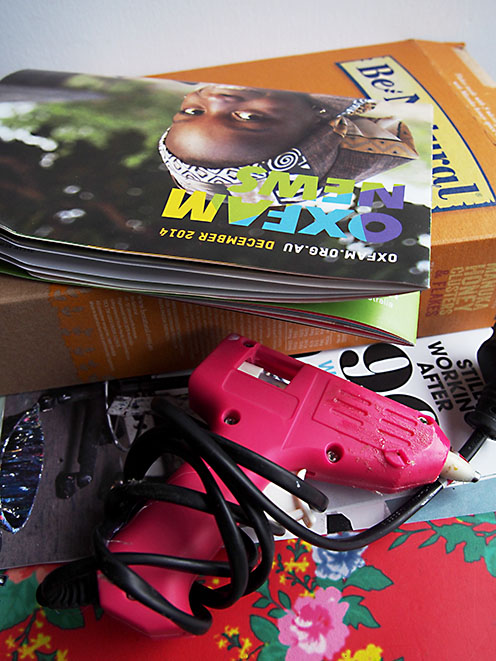
  • Hot Glue Gun
  • Colourful Magazine Pages
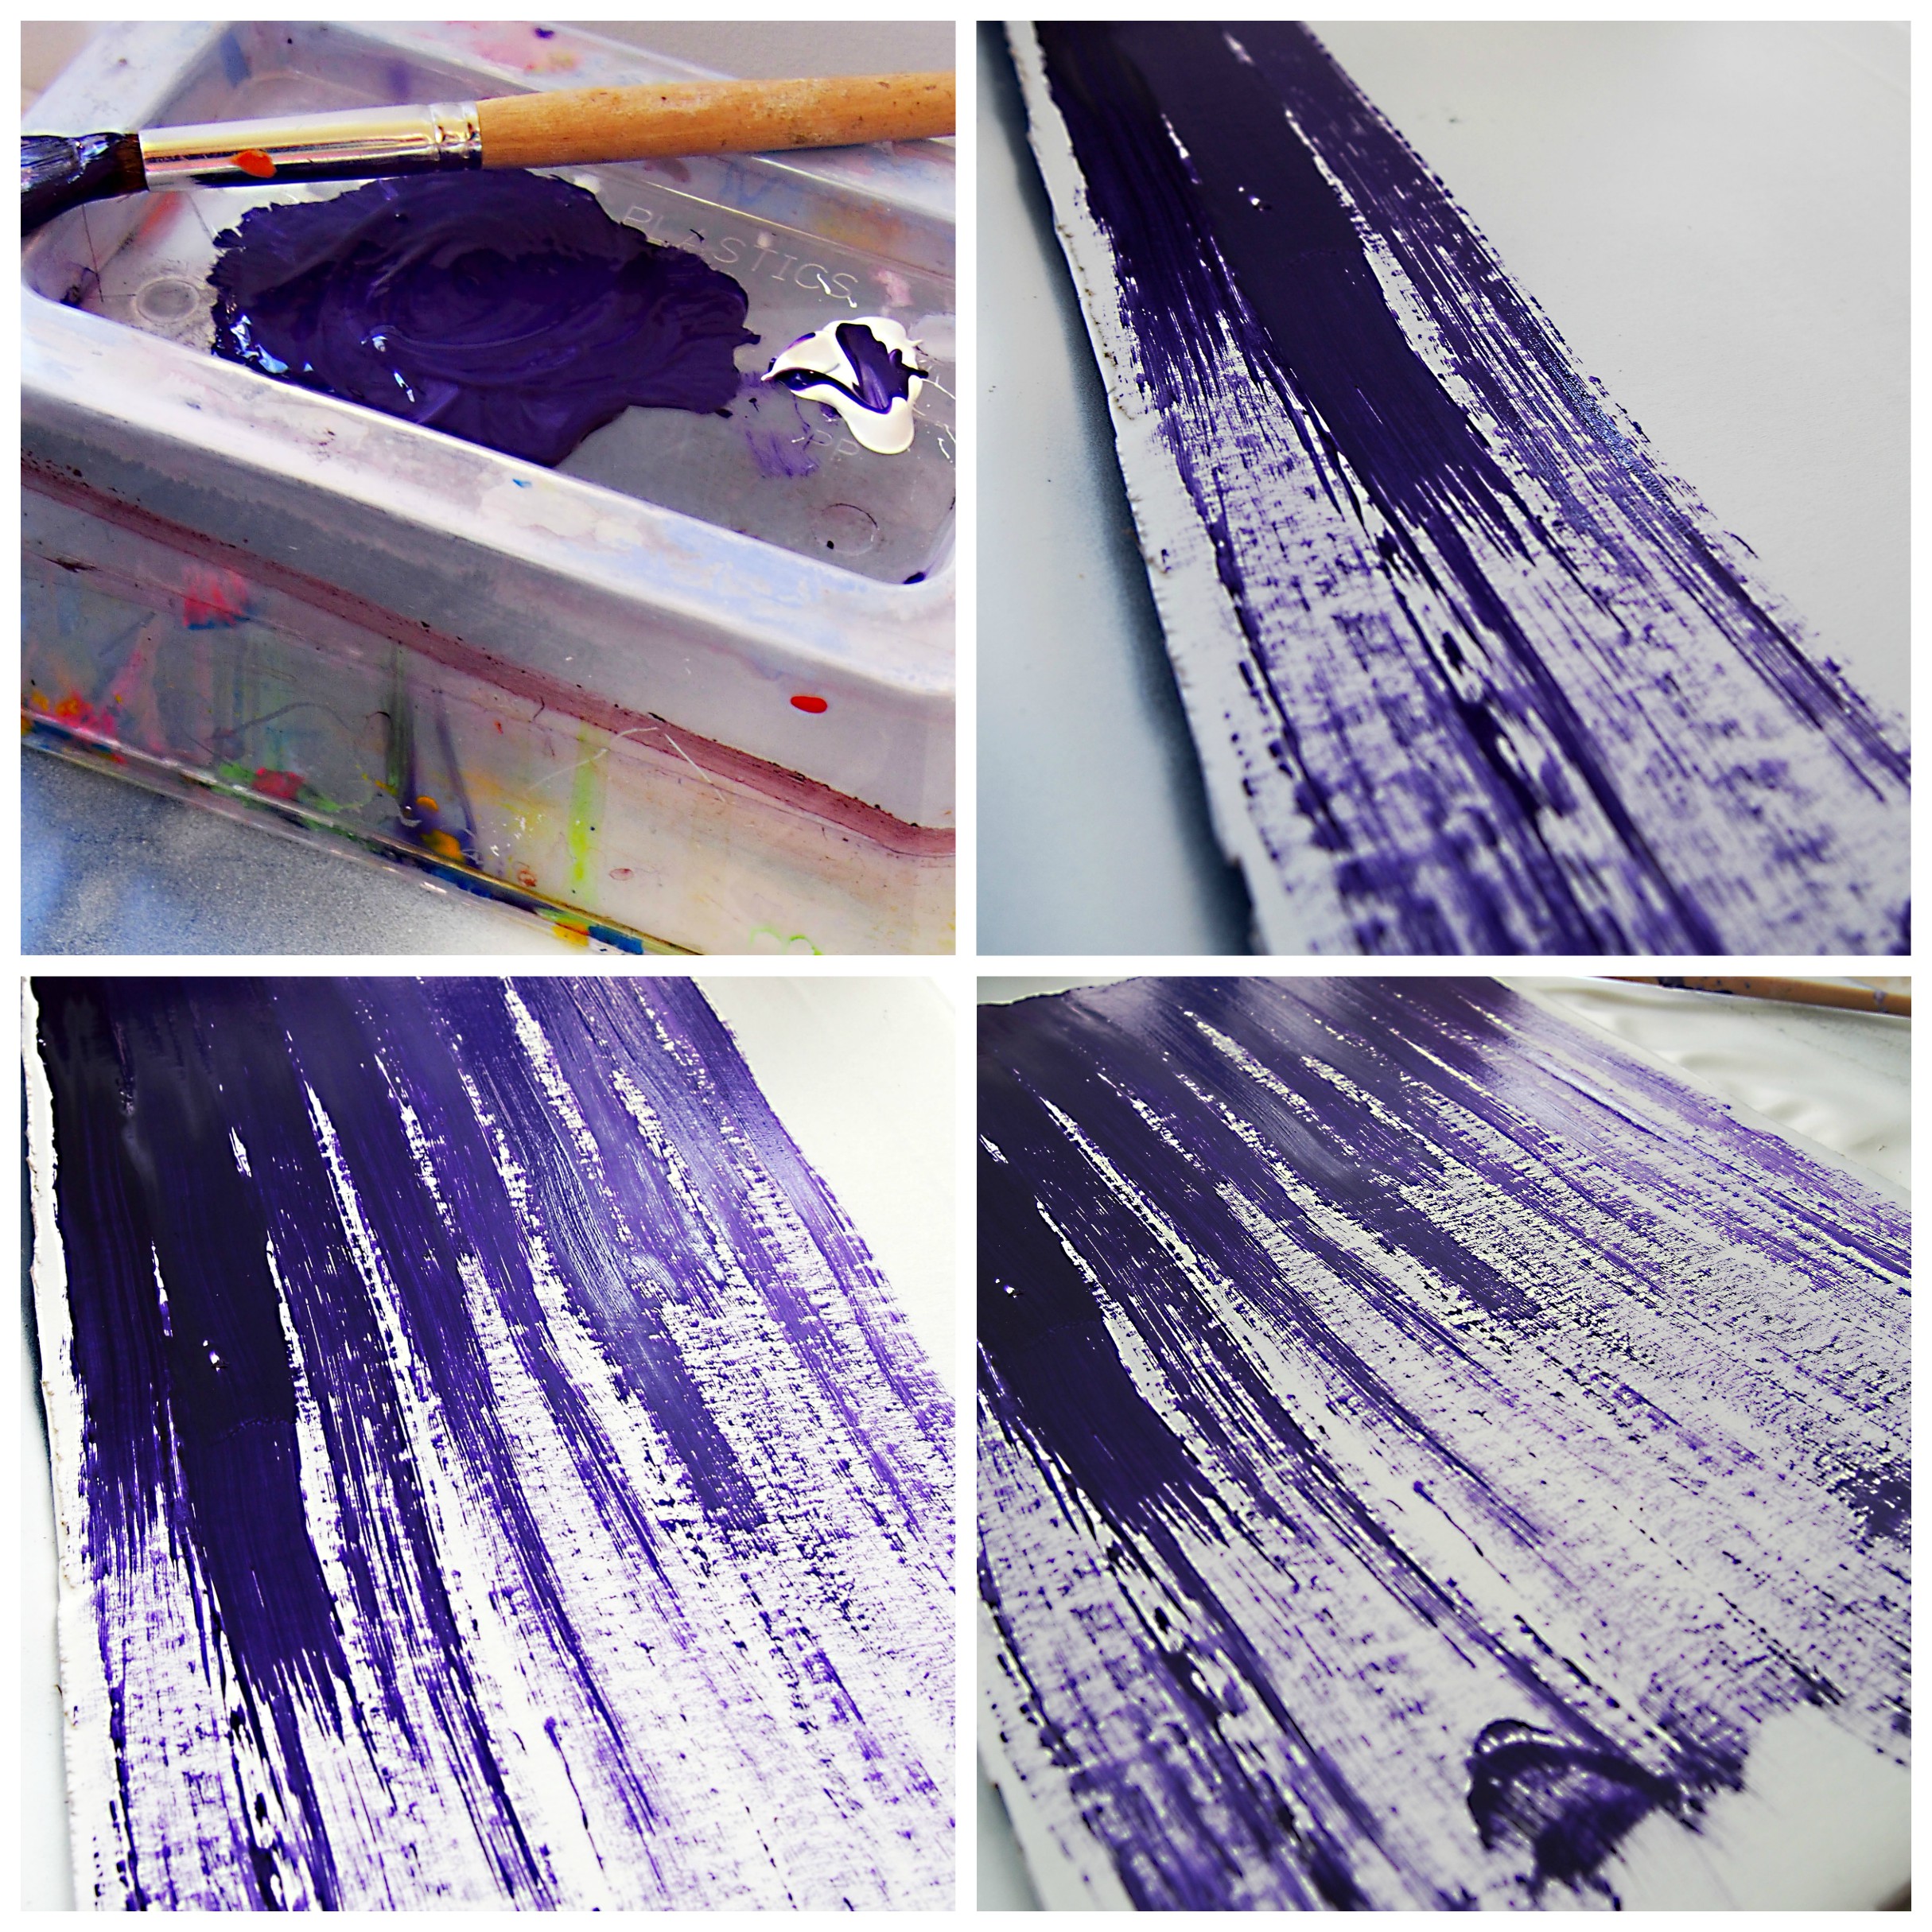
  • Pencil or Paint brush
  • Sticky Tape
  • Scissors

OLYMPUS DIGITAL CAMERA

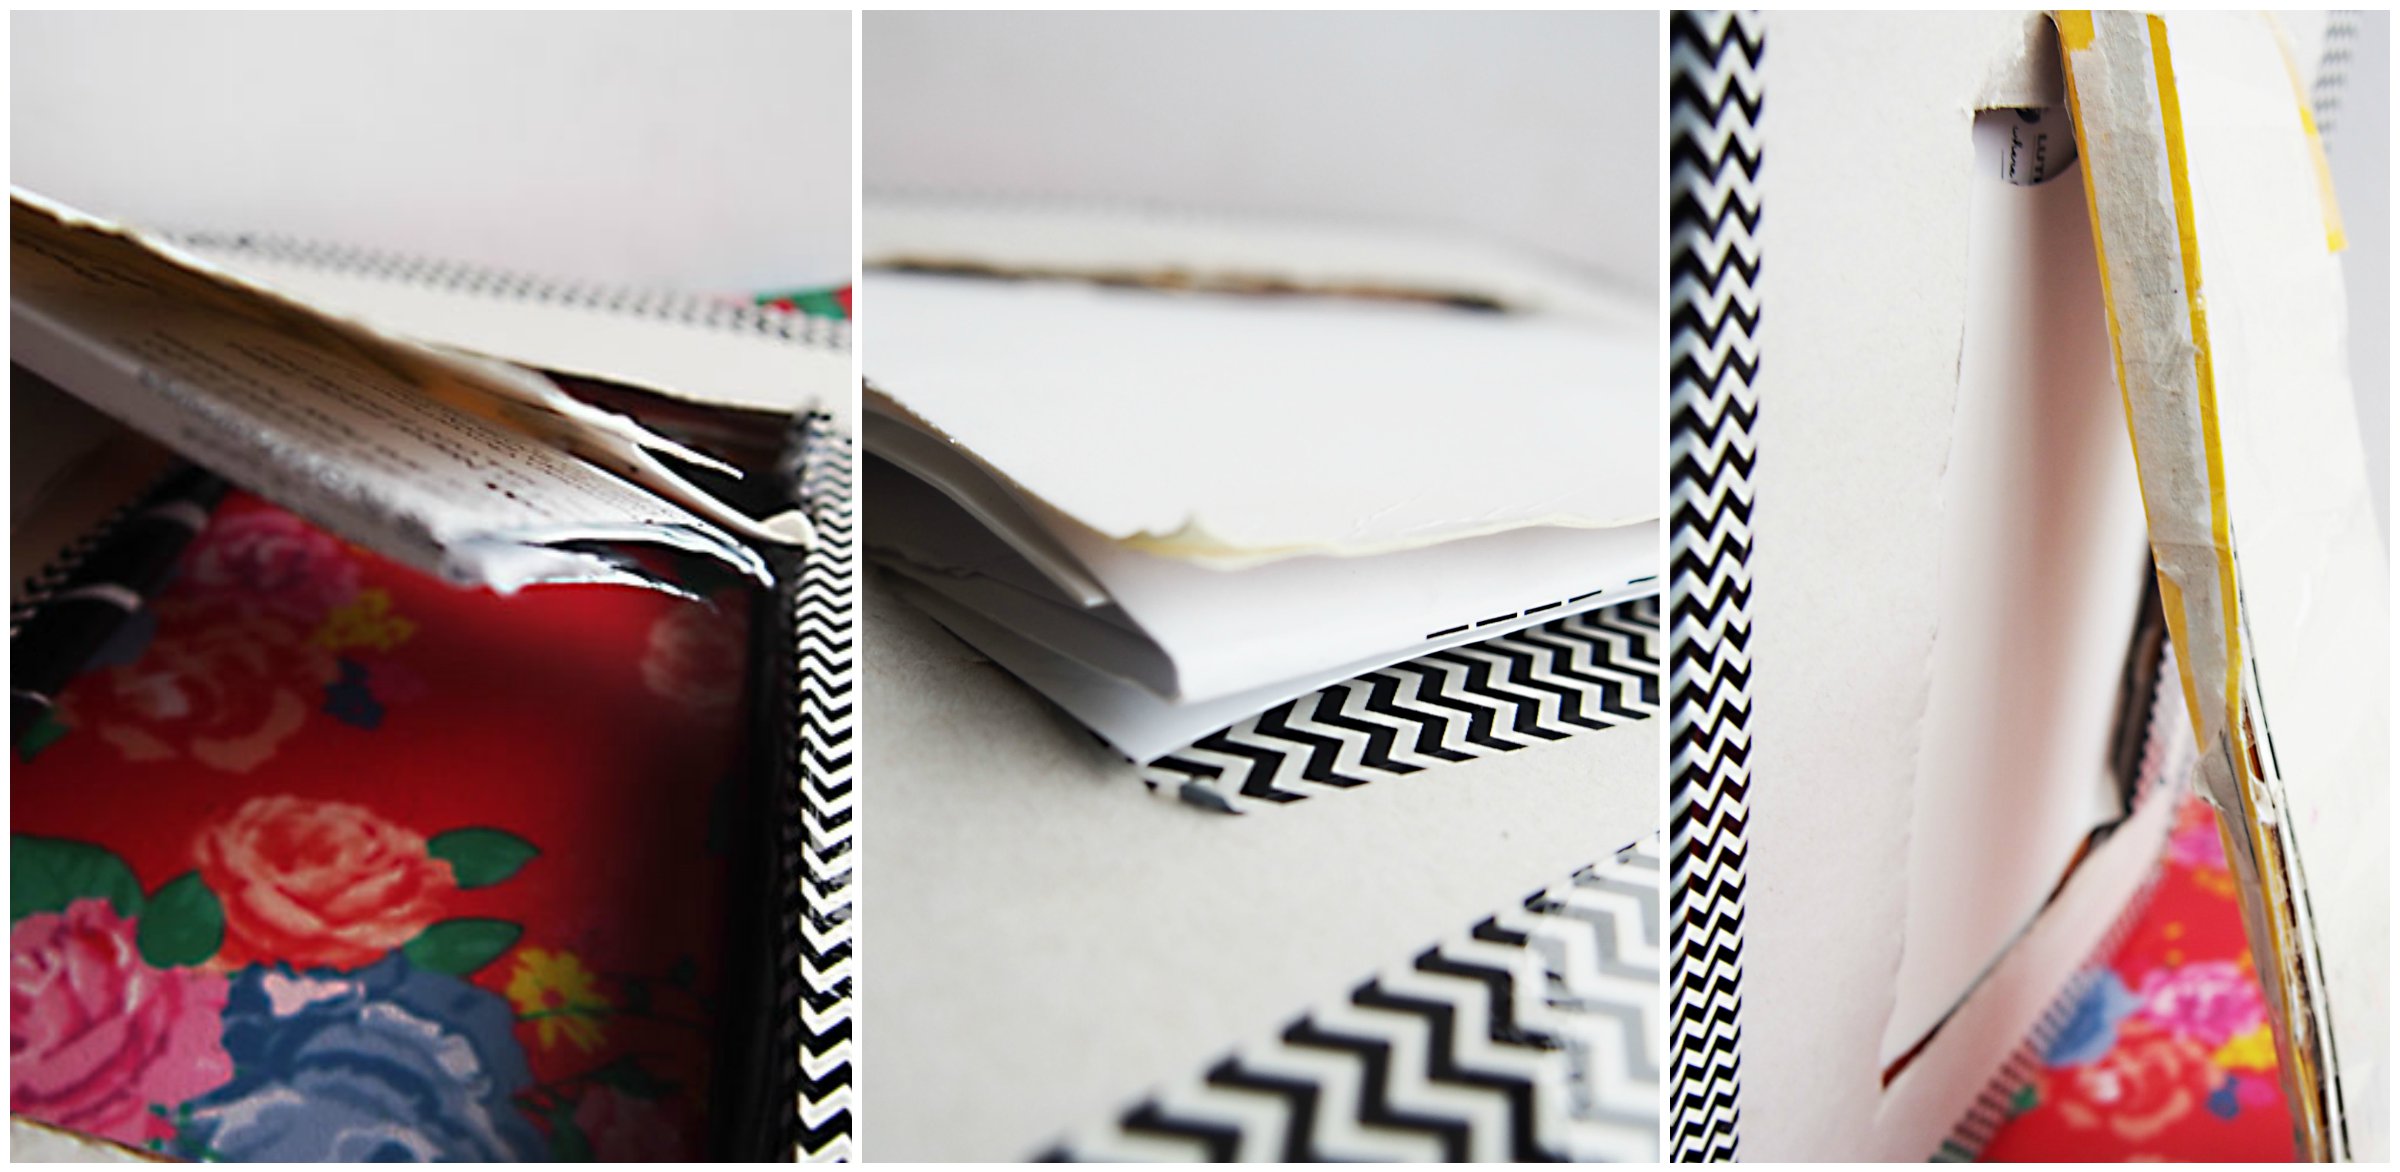
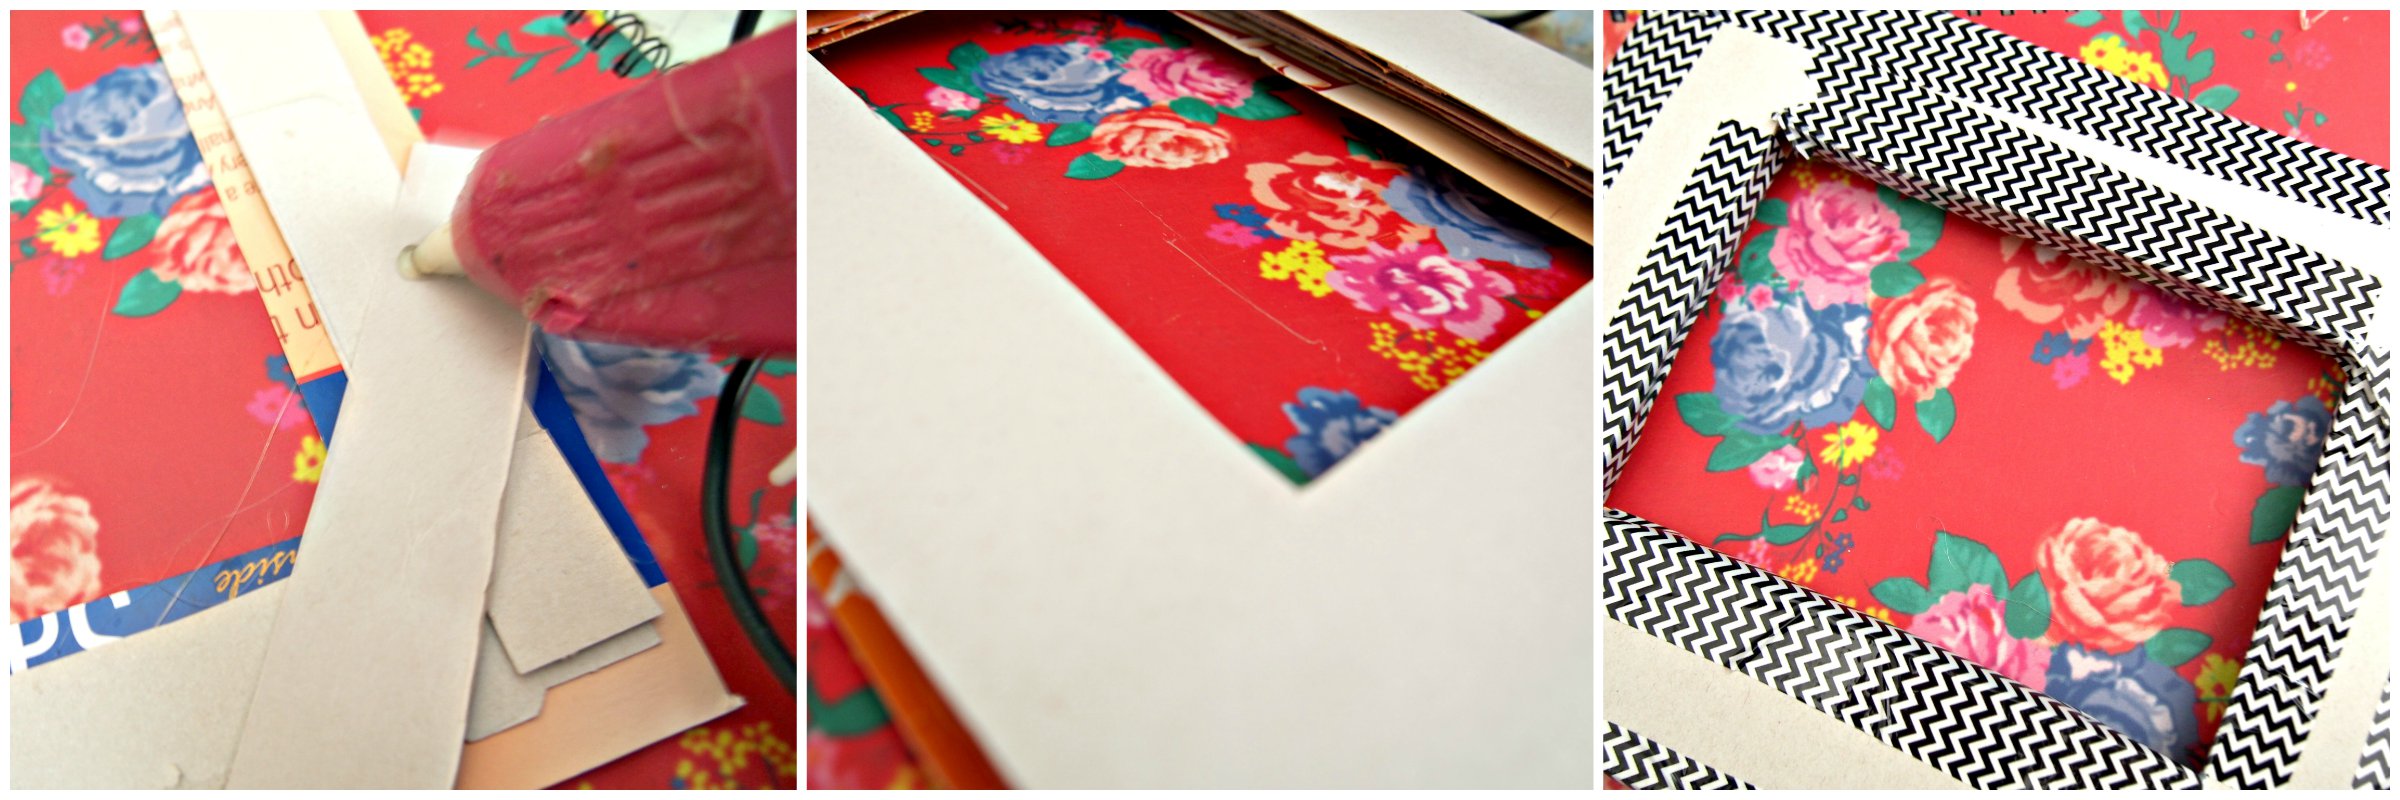
To make the frame cut two pieces of cardboard to the size you would like. You can do this by tracing a frame you already have or tracing photo and making your own frame. I roughly traced a frame I already had and then a photo to get the right size. Something to remember is when making the inner frame make it a bit smaller than the photo so it doesn’t fall out.

I then used a hot glue gun to bind the cardboard together. Between the two frames I put scraps of cardboard to make it stronger and so it doesn’t bend in half. Depending how many scraps you have it could give it a 3D effect. Before you glue the frame together make sure that the scrap doesn’t go to close the inside edge as the photo will need to be able to fit in. In the photo I have taped the edges. I then cut the inside tape away later on. I found taping the outside means you can’t see the scraps inside and it looks more finished.

BeFunky Collage stiking frame together

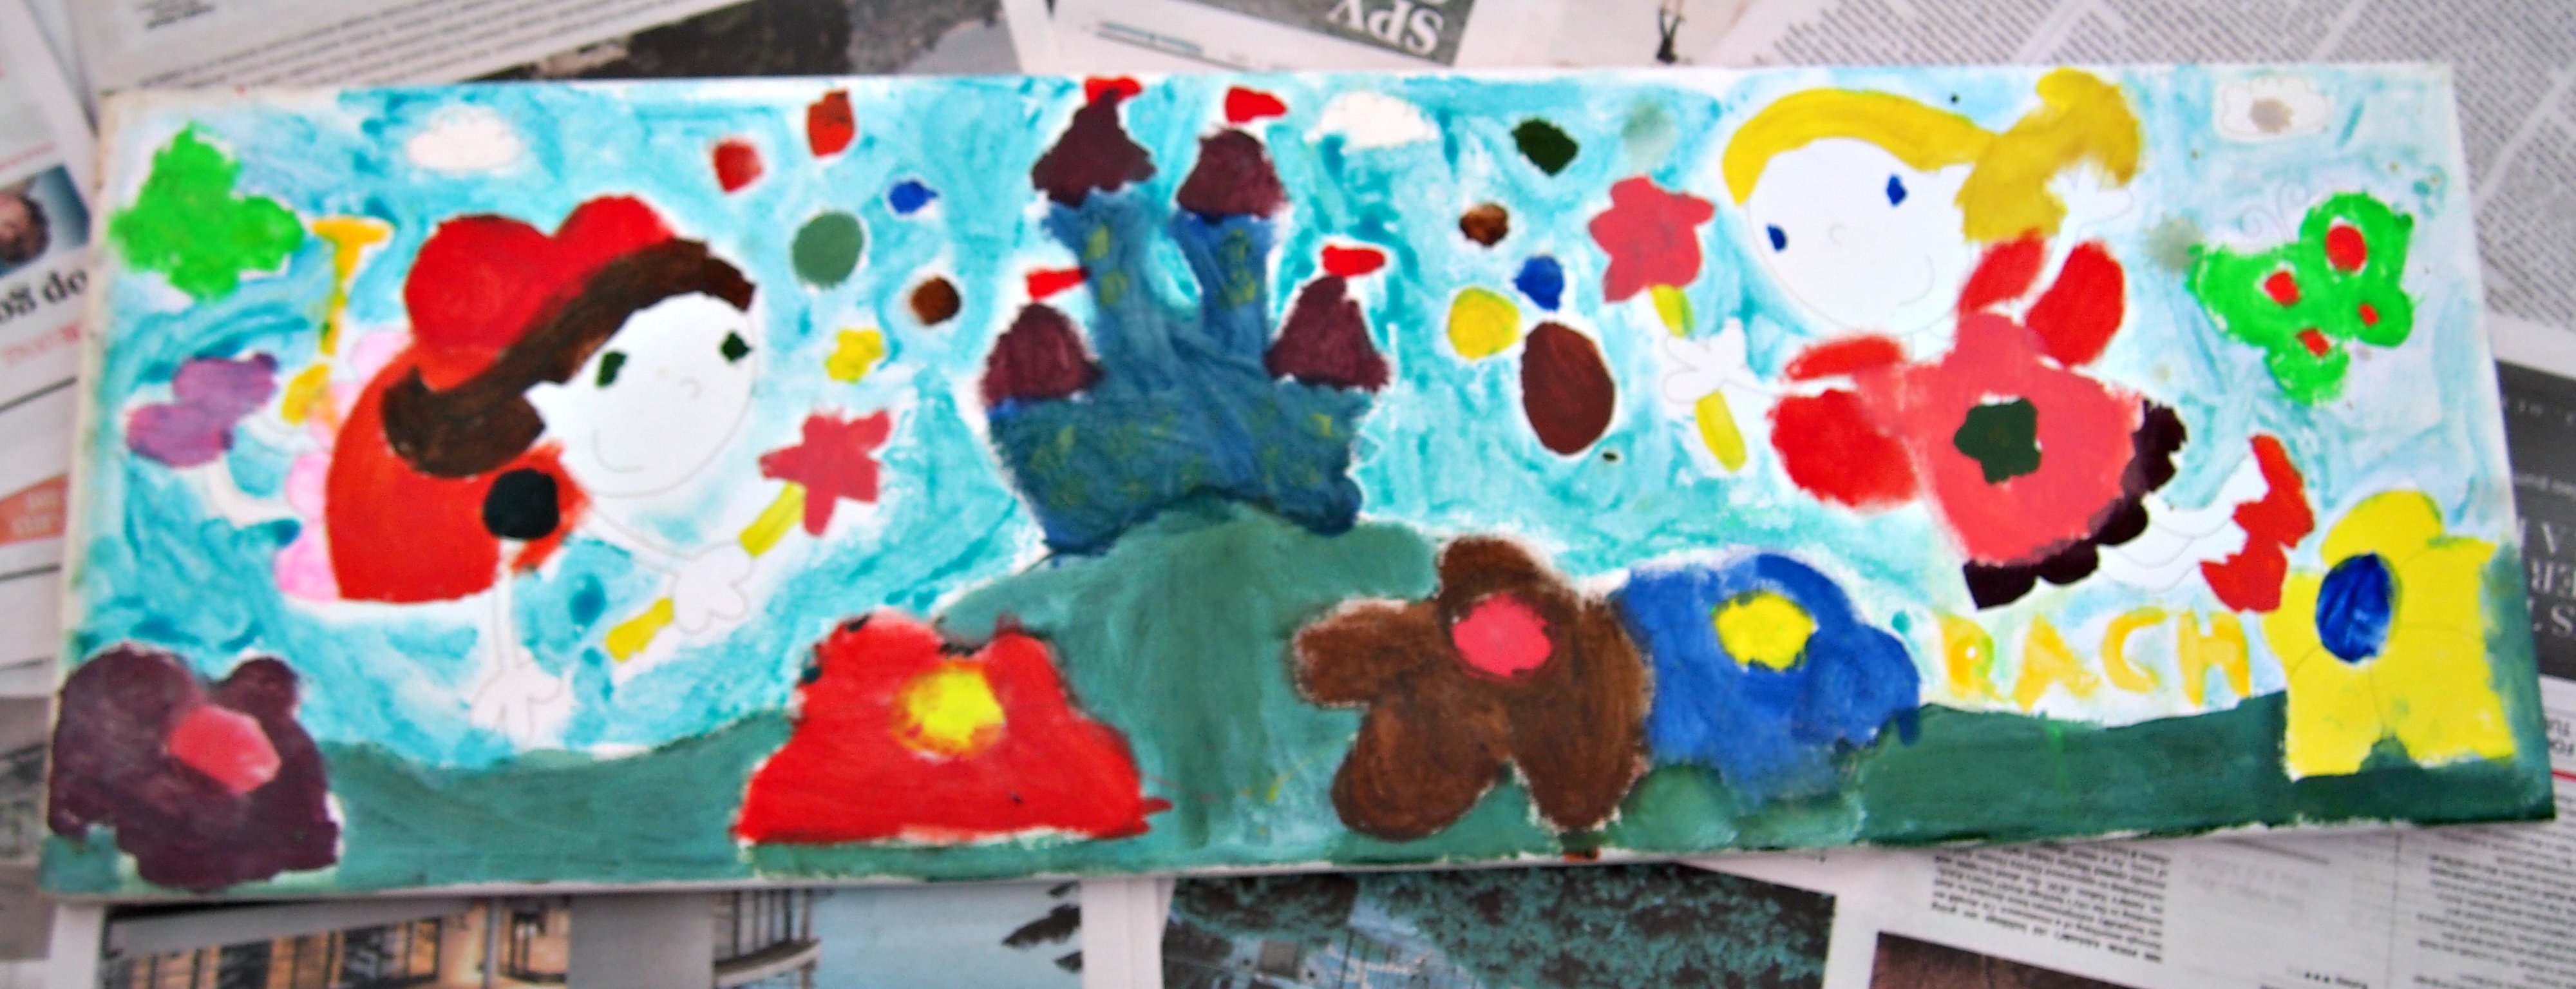
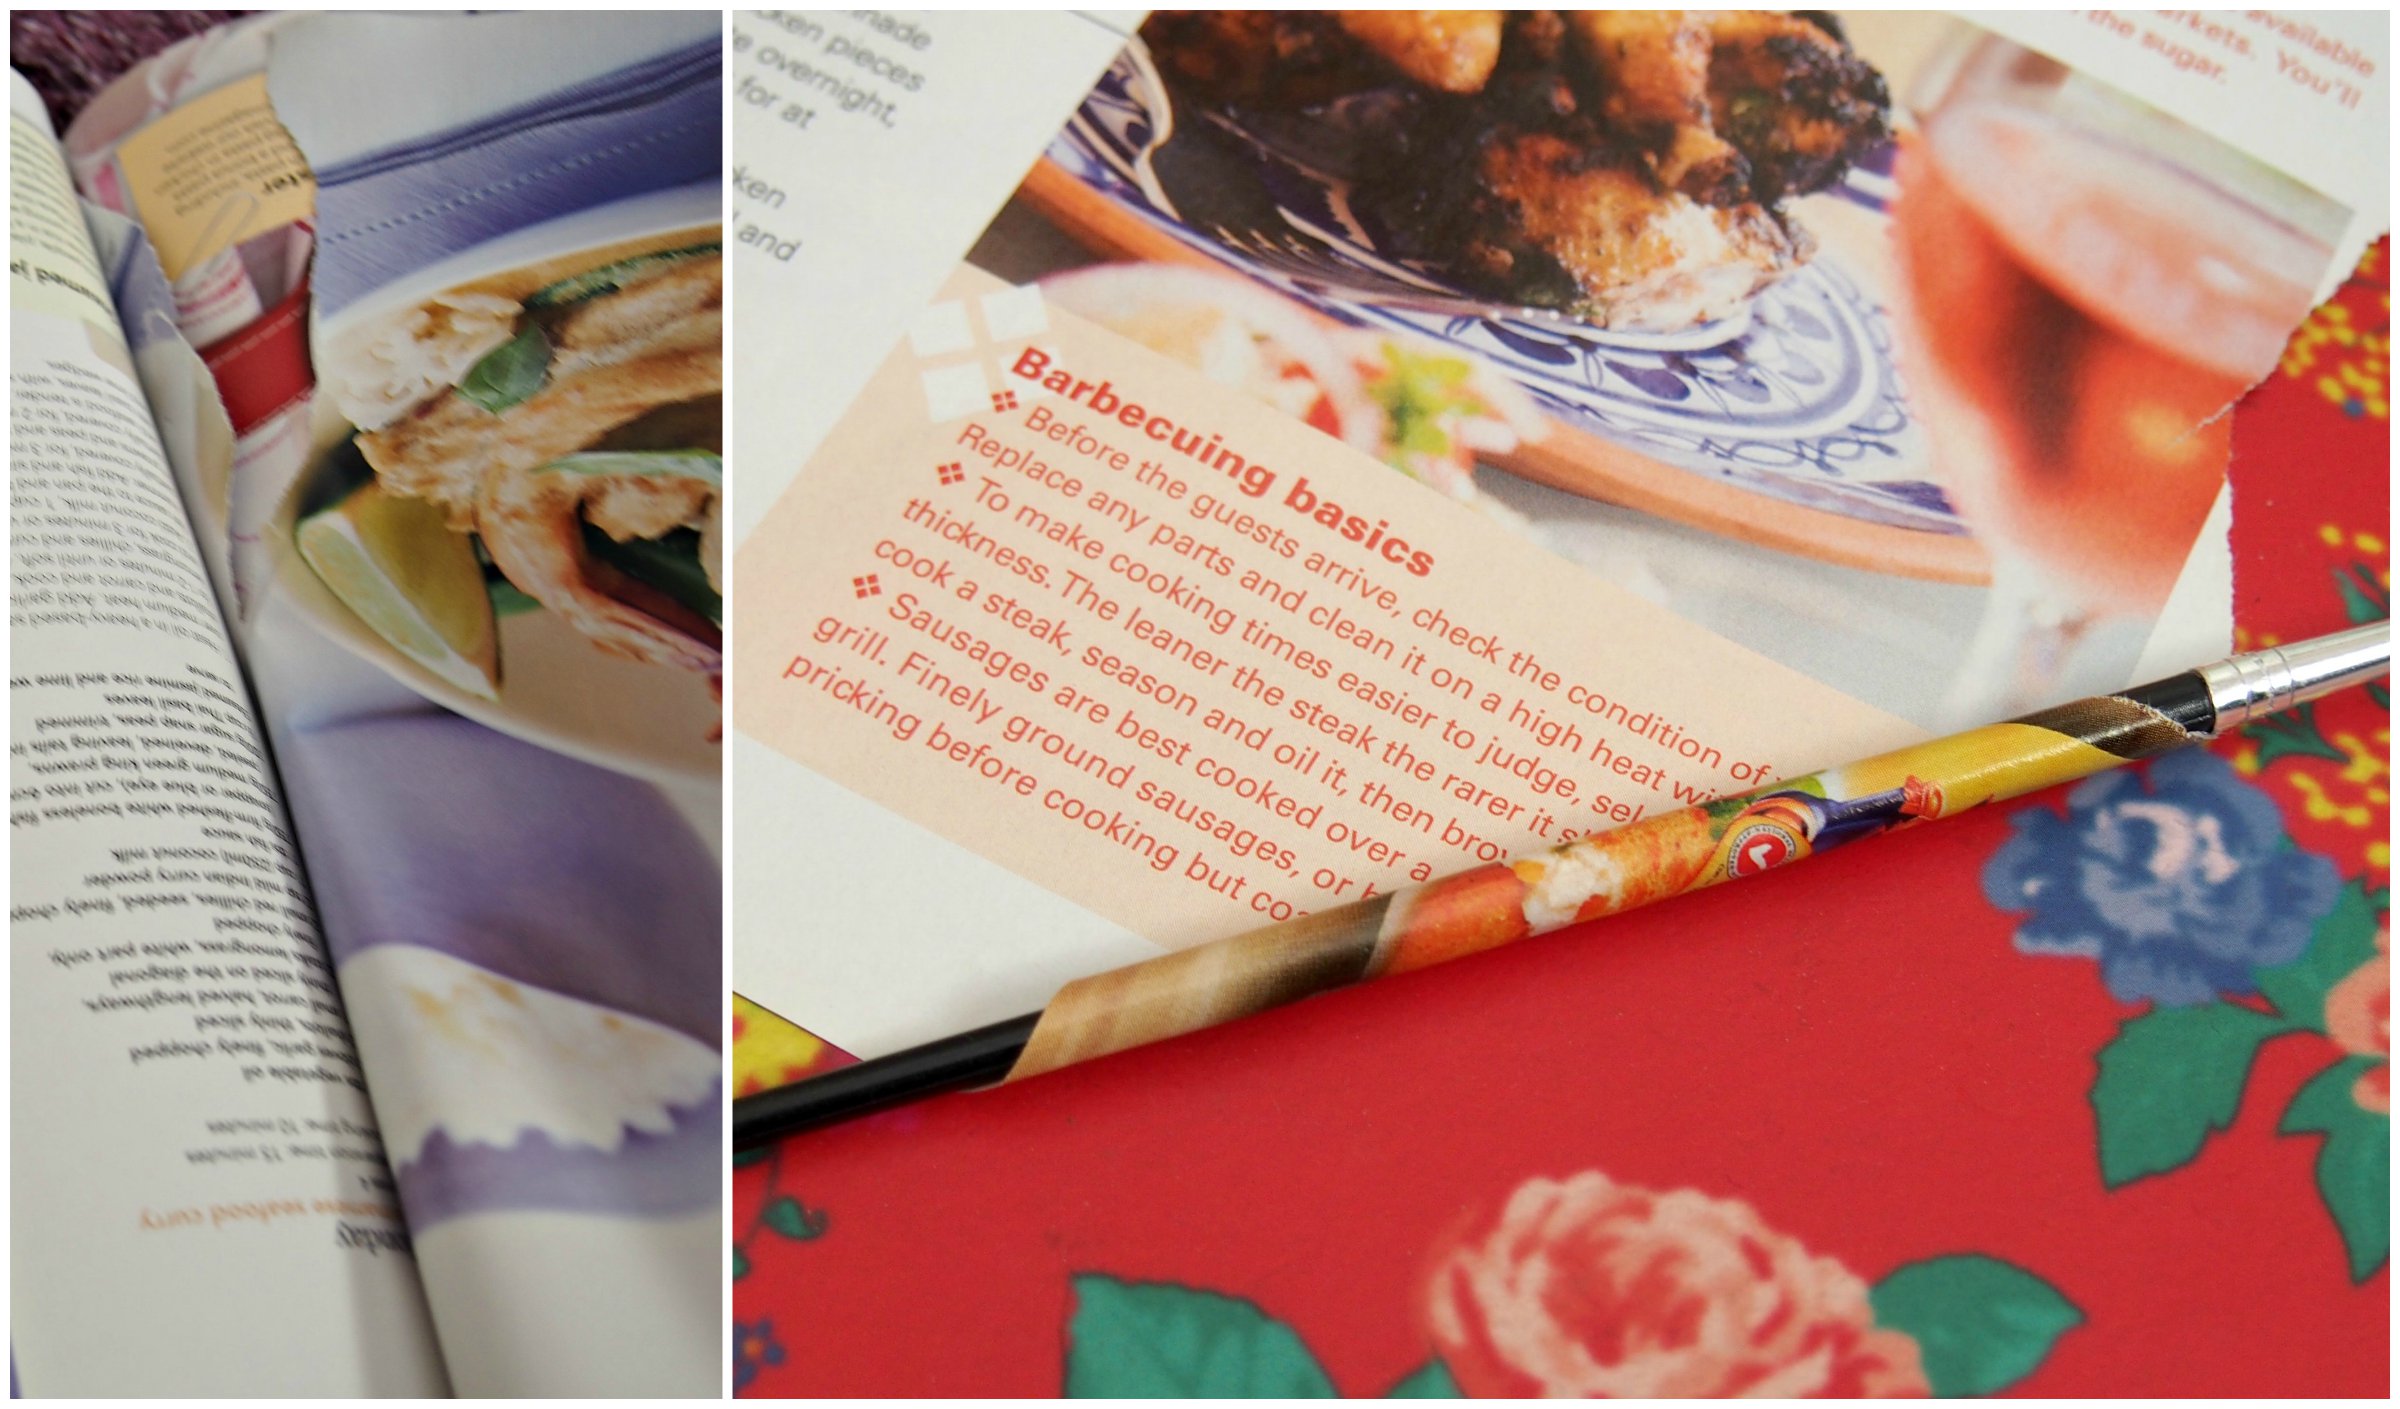
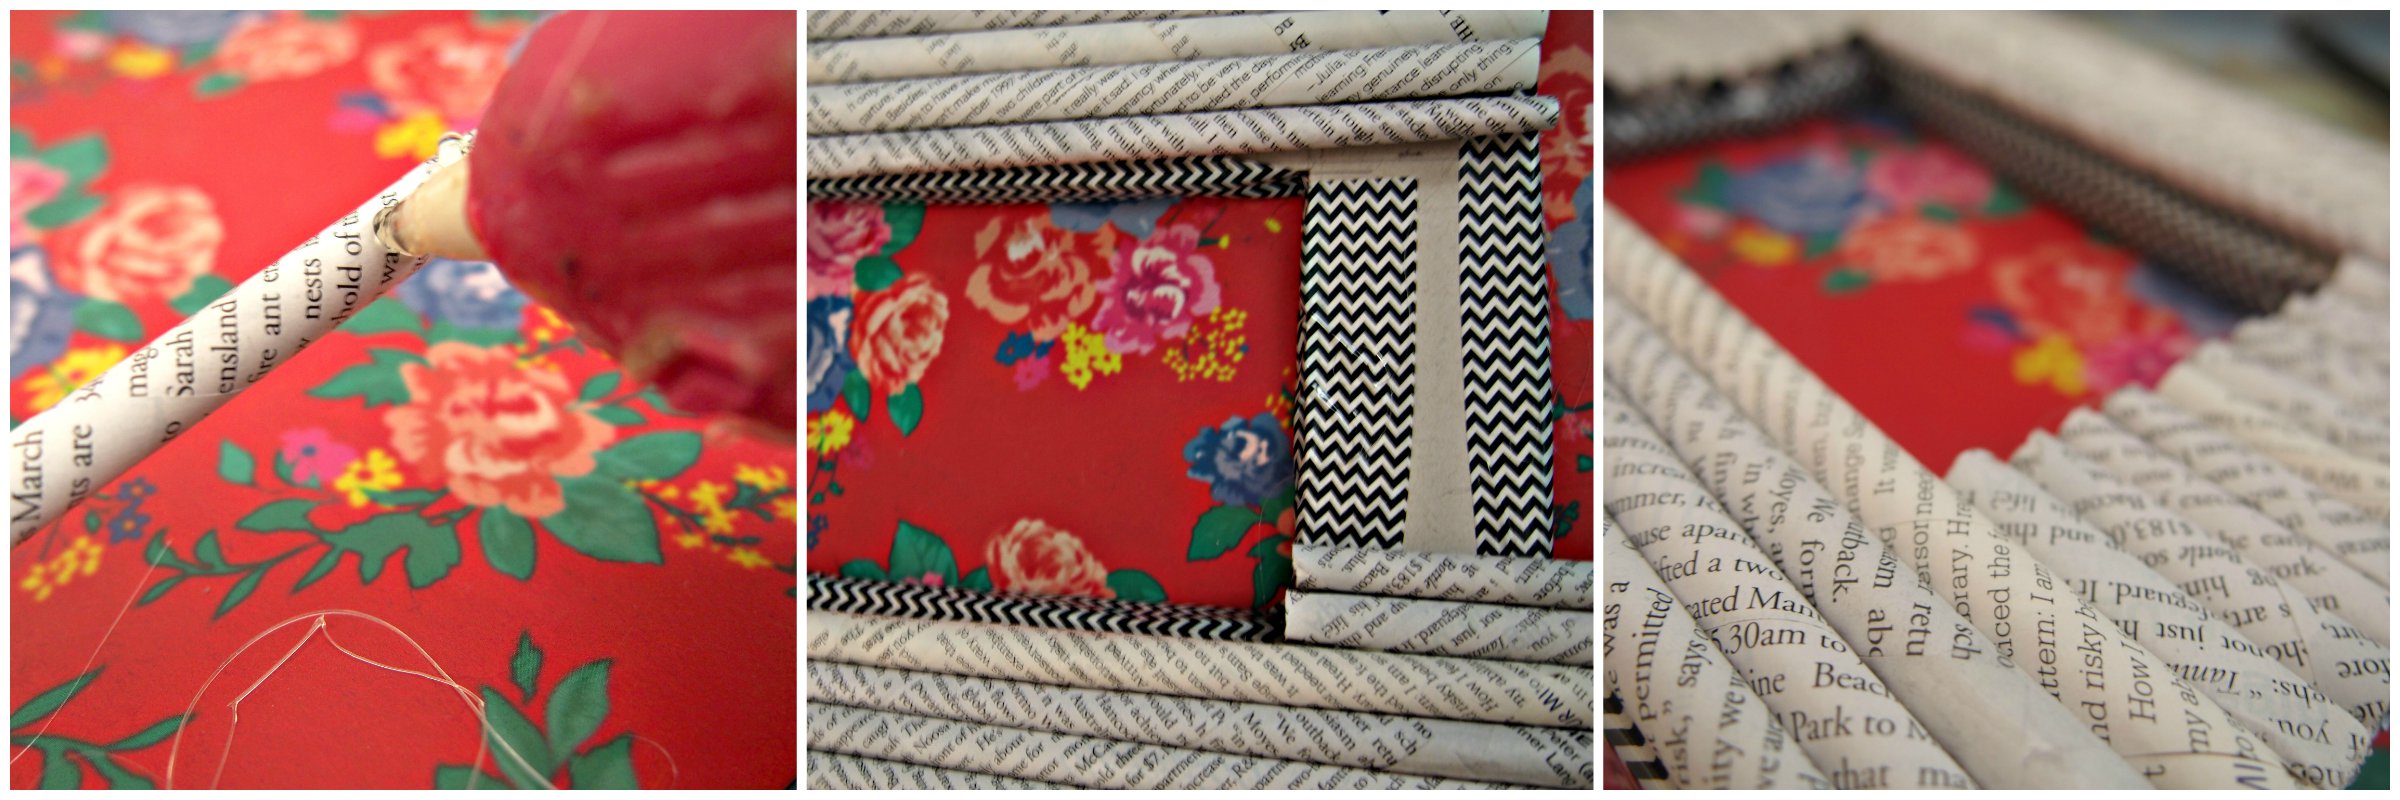
To decorate the frame I used lots of magazine rolls. Rip colourful pages out of magazines that are colourful. You could just use random colours or you could have a colour scheme. I tried doing a black and white with the text from the magazine. Turn the pages wrong side up and use a pencil or thin paint brush to help start the roll. Before you get to the end make sure you take out the pencil so it doesn’t get stuck in the roll. Secure it with a piece of tape and continue to make these until you have enough. I ended up using about 18 rolls.

BeFunky Collage rolls

Using a hot glue gun, glue the rolls onto the frame making sure they are lined up at the bottom. My first weren’t so it looked messy and not very good. Continue gluing them on until the frame is completely covered. I then used some plain black rolls for a border around the frame to make it stand out and look finished but it is optional.

BeFunky Collage gluing

To make the stand I also used scrap card taped together but a stronger card could be sed here to make it sturdier. You can either use glue or tape to adhere it to the frame. I used tape so I could move it to get the picture in and out.

BeFunky Collage stands

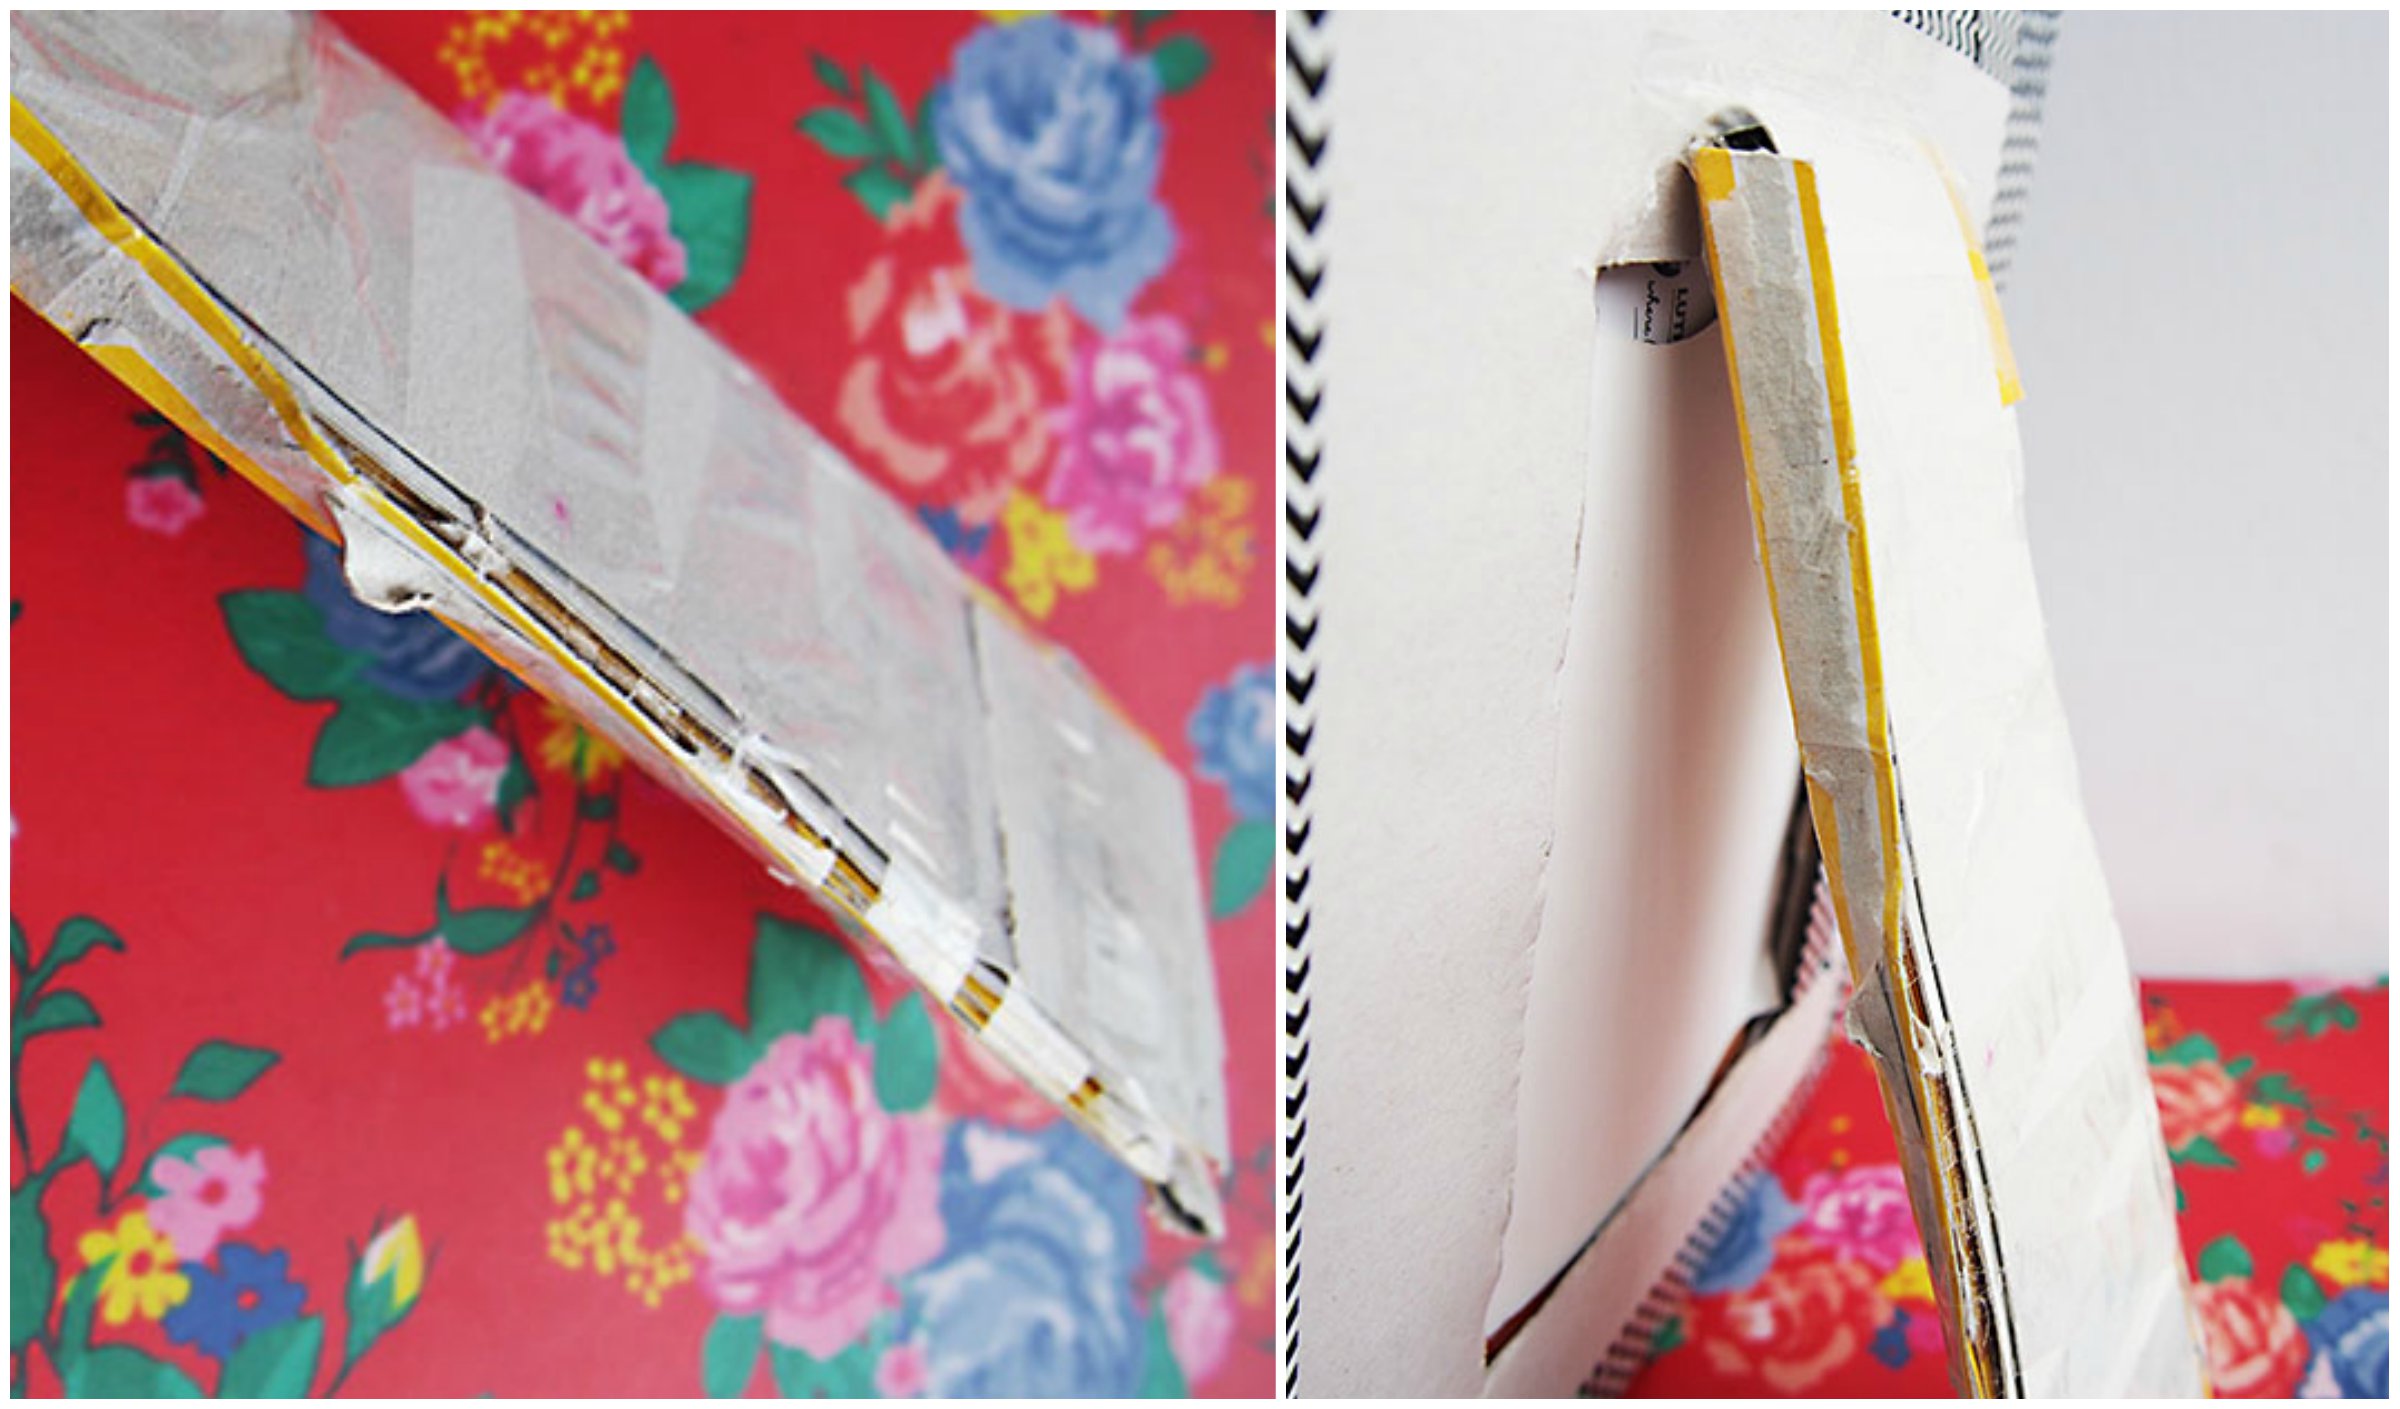
I found trying and putting the picture inside the frame was the hardest bit. I pushed the photo in between the two frames where the scrap card is but the photo wasn’t thick enough. I then cut some paper to size and pushed it behind the photo. I’m sure there are other ways to keep the photo in like taping it to the back.

BeFunky Collage putting in photo


OLYMPUS DIGITAL CAMERA

OLYMPUS DIGITAL CAMERA

DIY: Photo Collage

Last year for my best friends birthday I wrote her about 100 sticky notes saying ‘I love you because…’ and stuck them on her wall in a ‘I <3 U!’ pattern. She really liked it and so this year I had to up my game and beat it. I had a oddly shaped canvas that I painted when I was little and lots of photos of me and her. We played around with my camera one day and took millions of photos so I printed them out and stuck them on this canvas. It is very self explanatory but it is a great reminder of what great times we have had together and it is very easy to customize. I got the idea of another friend who gave our friend a small canvas with a couple photos and quotes related to the person. I stole her idea and made it my own by collaging some old photos. I also wrote a message on the back to wish her a happy birthday! Not only did the birthday girl like it her mother did so much she wanted to hang it up in the lounge room! My problem now is what am I going to do for her next year? (Sorry about the lighting)

The canvas went from this…

P1018083 first

…to this..P1018100 white canvas

…and then this!

OLYMPUS DIGITAL CAMERA

OLYMPUS DIGITAL CAMERAOLYMPUS DIGITAL CAMERA


DIY: Brush Stroke Geometric Card

This tutorial is much like my first one. It uses the same brush stroke technique because I really like the detail that brush strokes have especially when they are on a white background. I think that it really makes it pop out of the page.I got the idea for this from LaurDIY who did a video of this tutorial but I put my own spin on it. If you want to go see her video this is the link https://www.youtube.com/watch?v=4qerSJpqk8s (she makes amazing videos). For this tutorial the photos are of me doing this design on a card for someones birthday but it can be on any material.

OLYMPUS DIGITAL CAMERA

Materials  

  • Paint Brush
  • Acrylic Paints
  • Canvas (platform to paint on)
  • Geometric Design Stencil
  • Spray Adhesive or Tape
  • Craft Knife or Scissors                                                                                 

OLYMPUS DIGITAL CAMERA

First cut out the stencil using a craft knife or scissors and adhere it to your canvas. It can be hand drawn or a printout and on what ever type of paper or card you have available. If the stencil is rough is shouldn’t matter in the end.

OLYMPUS DIGITAL CAMERA


Take your darkest colour of paint (I mixed red and pink) and cover the brush with it. Put your brush at the top on the canvas (covered with paper) and drag it down the canvas until it reaches the bottom. If the stencil is far enough away from the start of the brush line, it should have the brush stroke effect.

OLYMPUS DIGITAL CAMERA

Add white or a lighter colour to you original one and cover the brush with it. Do the same stroke next to the first. As you keep repeating this, the stencil should become full of ombred brush strokes.

BeFunky Collage edited again

Peel off the stencil and any other covering paper to reveal the ombre geometric design. You can try to fix any mistakes with some paint or you can keep it more ‘rustic’. I only had one mistake which is pretty good for me but it is on the front of the card and it is very annoying because it is the only thing I can see!

OLYMPUS DIGITAL CAMERA

I think that you could give the card like that but a nice embellishment could be writing ‘Happy Birthday ______’ or ‘Thank You _______’


DIY: Brush Stroke Painting

The brush effect from a paint brush can be very effective in different circumstances. On the set for a musical maybe not, but on a piece of art, it can work. Each stroke is different and has texture which brings life to the painting. There are simple ways to put this technique into practice.

When I saw this tutorial I thought I had to give it a go. I did not come up with this idea it was entirely LaurDIY’s idea but I thought I would try and recreate it. The only thing I did differently was I used cardboard instead of a canvas and I changed the colours. If you want to go check her video out here’s the link https://www.youtube.com/watch?v=4qerSJpqk8s.

OLYMPUS DIGITAL CAMERA

Materials

  • Cardboard or Canvas
  • Paint (Dark and Light of the same colour)
  • Big Paint Brush

OLYMPUS DIGITAL CAMERA

Take your darkest colour of paint and cover the brush with it. Put your brush at the top on the canvas and drag it down the canvas until it reaches the bottom. The brush cannot be taken off if you want the whole effect, nor should the stroke be repeated on top because it will lose the effect.

OLYMPUS DIGITAL CAMERA

Add white or a lighter colour to you original one and cover the brush with it. Do the same stroke next to the first. As you keep repeating this, it should become a line of ombre strokes.

BeFunky Collage

Once it is dry you are done. It is that easy! It is a great piece to display on a blank wall as it adds colour in a textured way. You would probably have most of the stuff already but if you don’t they can be found at craft and cheap stores.

OLYMPUS DIGITAL CAMERA

The final product can be hung on the wall or stood up against a wall on your bedside table. There are many other platforms you could create this design on or it could just be used as a pattern instead of a plain wash of paint. I think the design would look effective on an exercise book cover, magazine holder or even a piece of furniture. I hope you have fun creating this art and be creative with it!

OLYMPUS DIGITAL CAMERA